Baby Jane

What Am I Thinking?

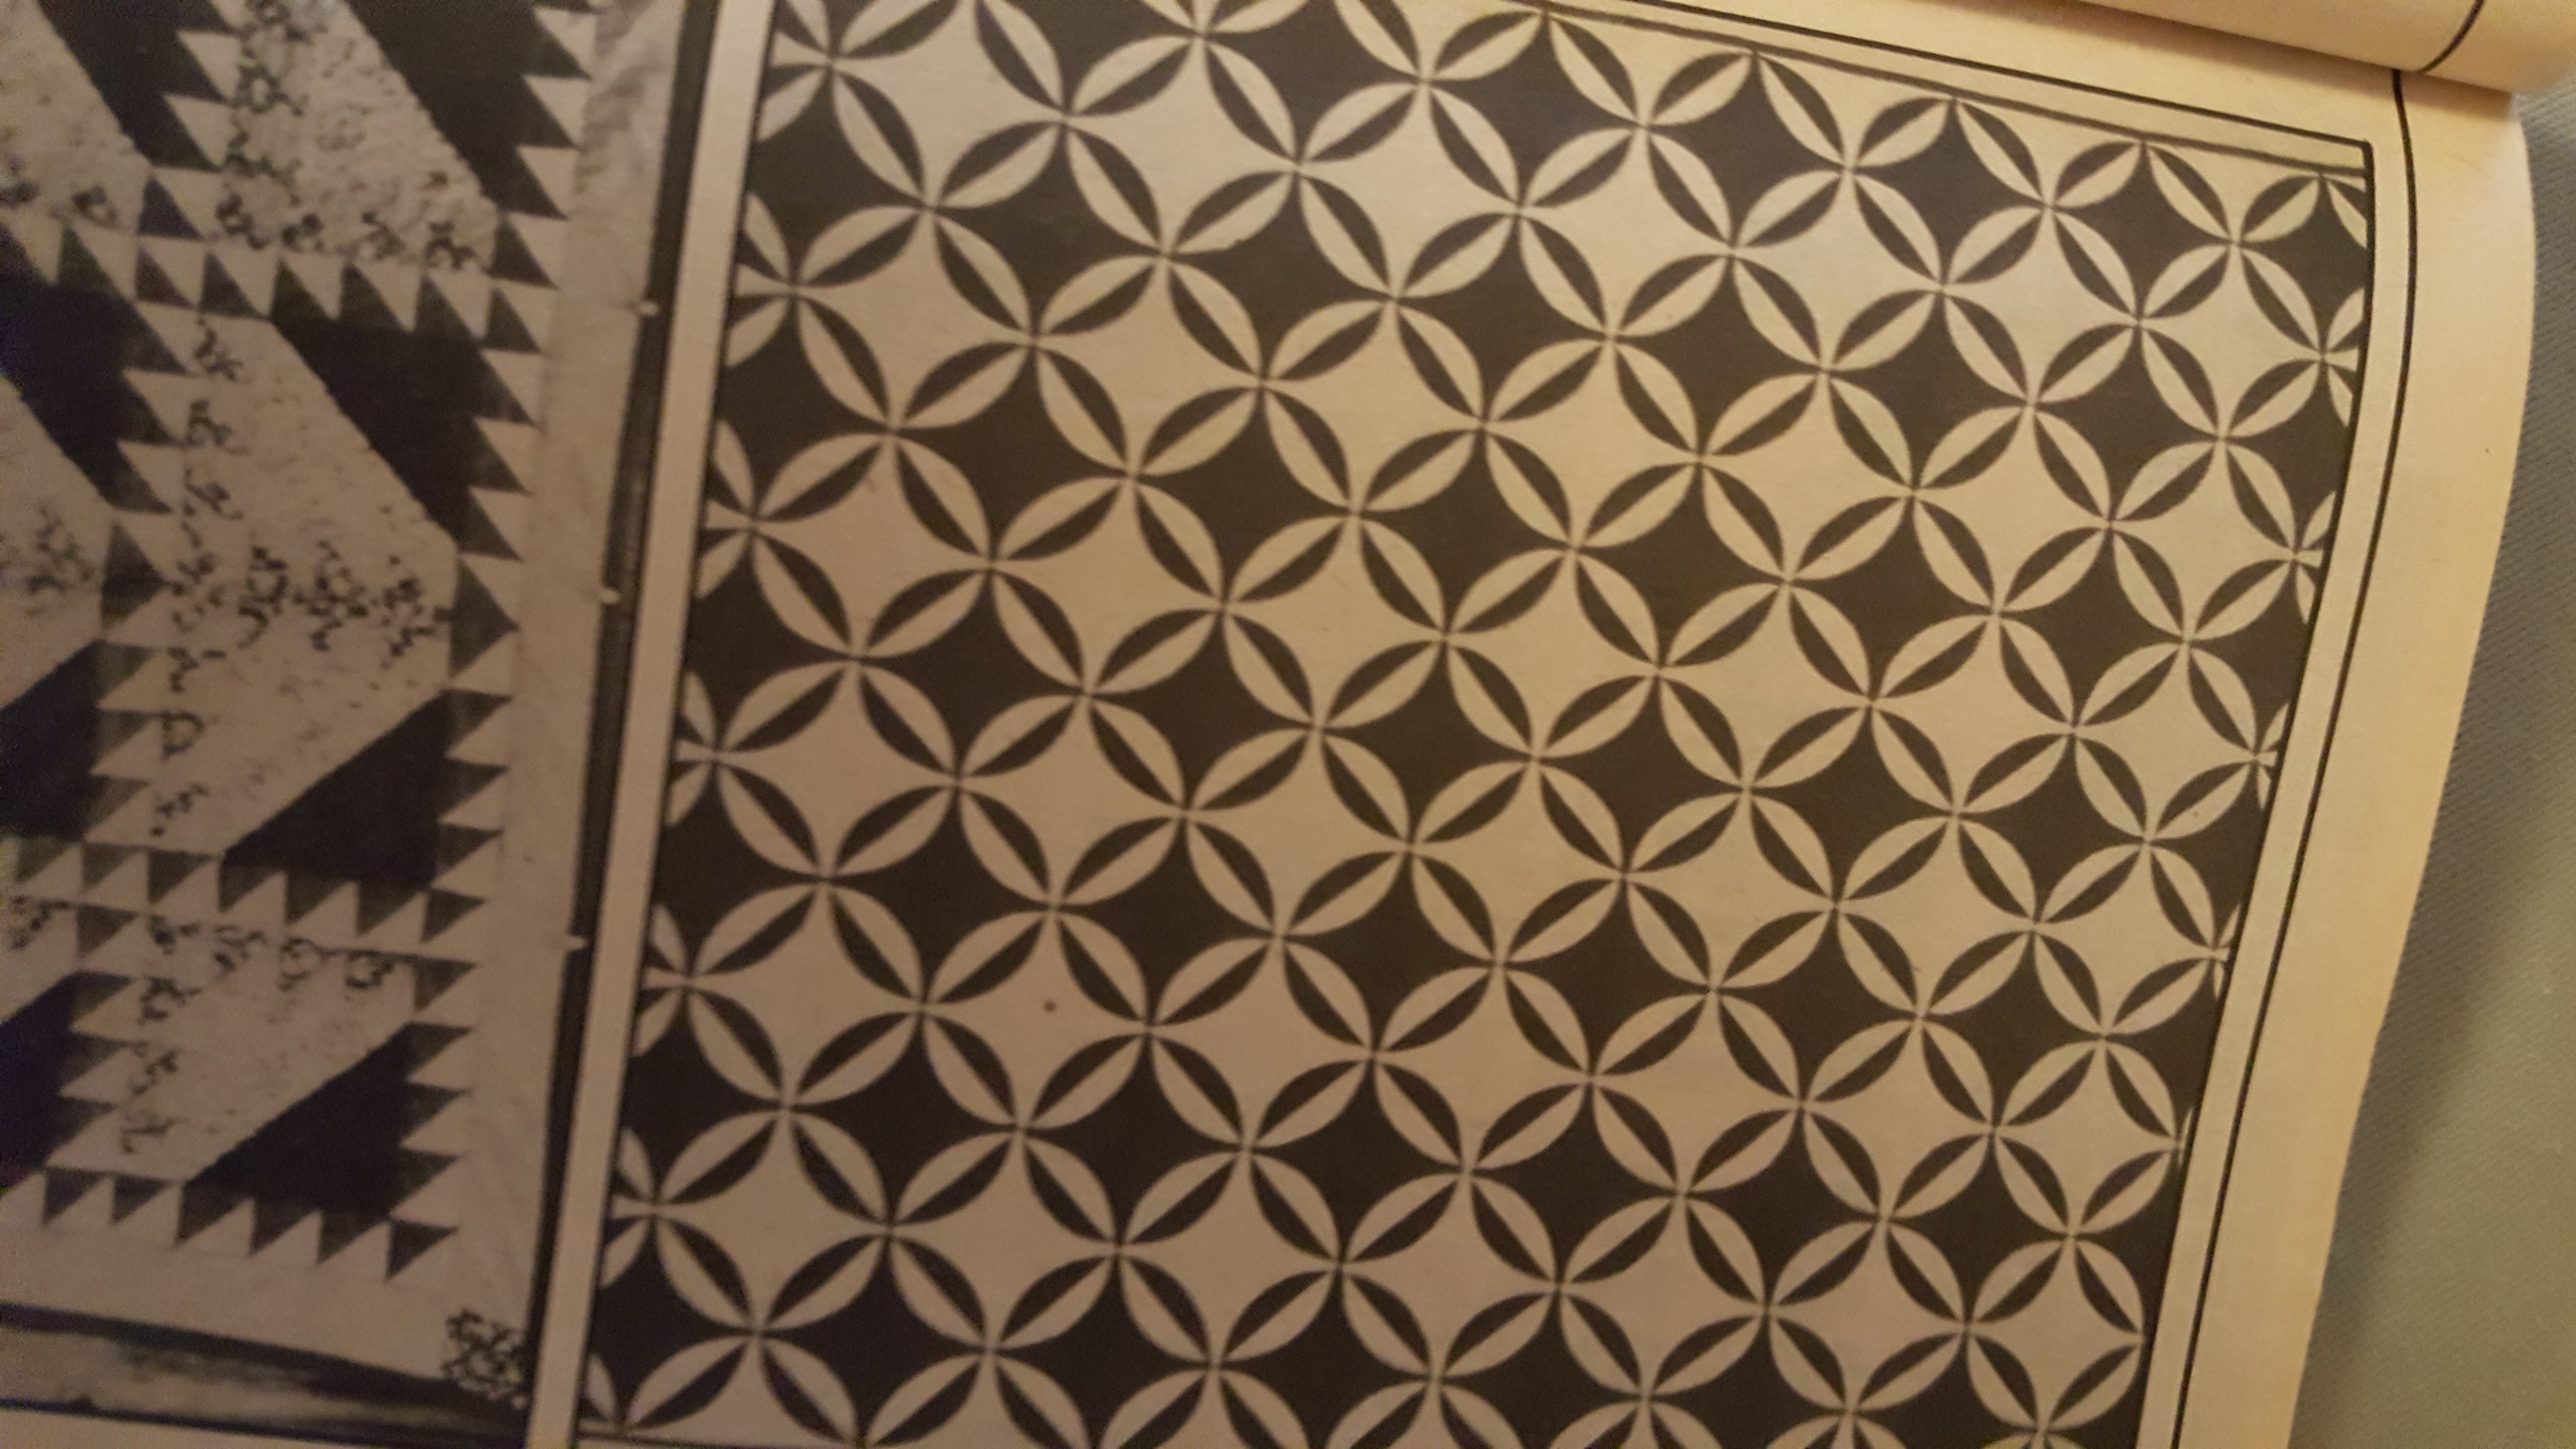
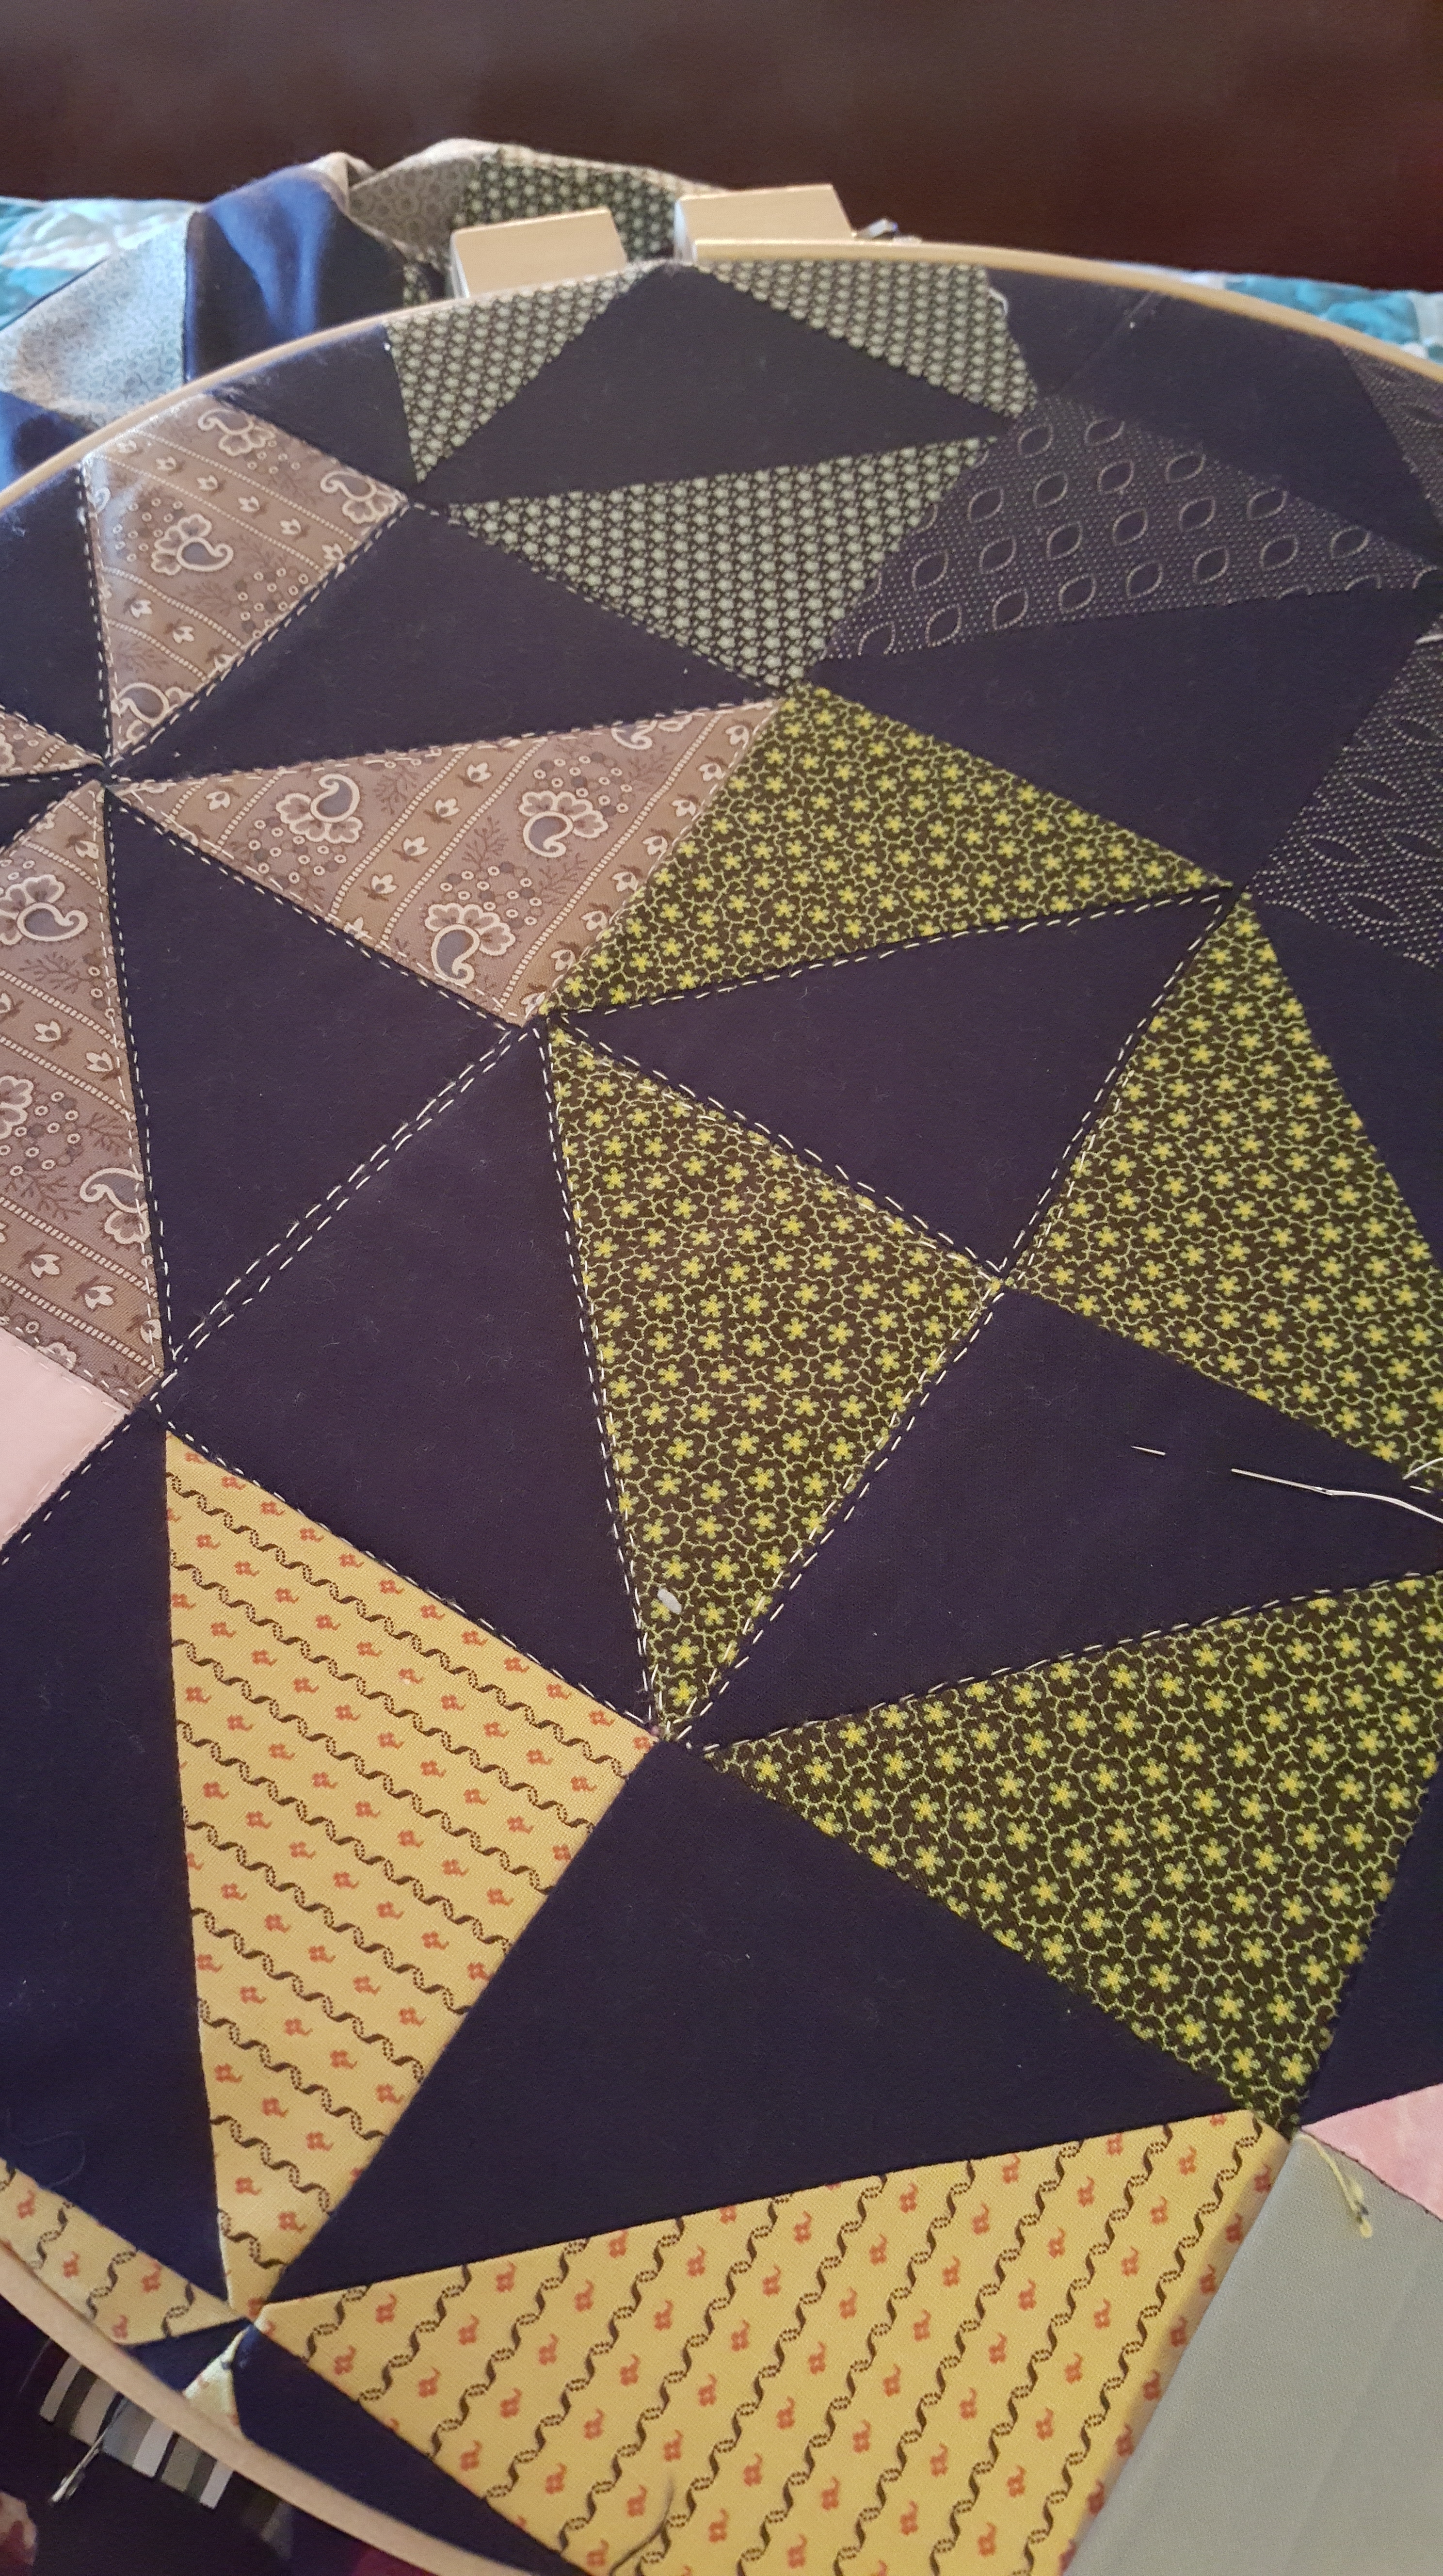
Well… here we go. The Mount Everest of quilting: the Dear Jane. Two hundred and twenty‑five blocks, each measuring just 4½ inches. It’s a test of traditional piecing, English paper piecing, and blind appliqué skills woven together in one iconic quilt. There are many variations on the original, and this one will be mine.

I’m setting out on this journey and inviting you to come along—not only for company, but to help keep me accountable and this project on track. My plan is to group blocks by technique and complete four each week. I’ll be referencing Brenda Manges Papadakis’ chronicle of the quilt and its history. The original was completed in 1863 during wartime and contains 5,602 individual pieces. In the bottom right corner, the maker left her mark, timeless.
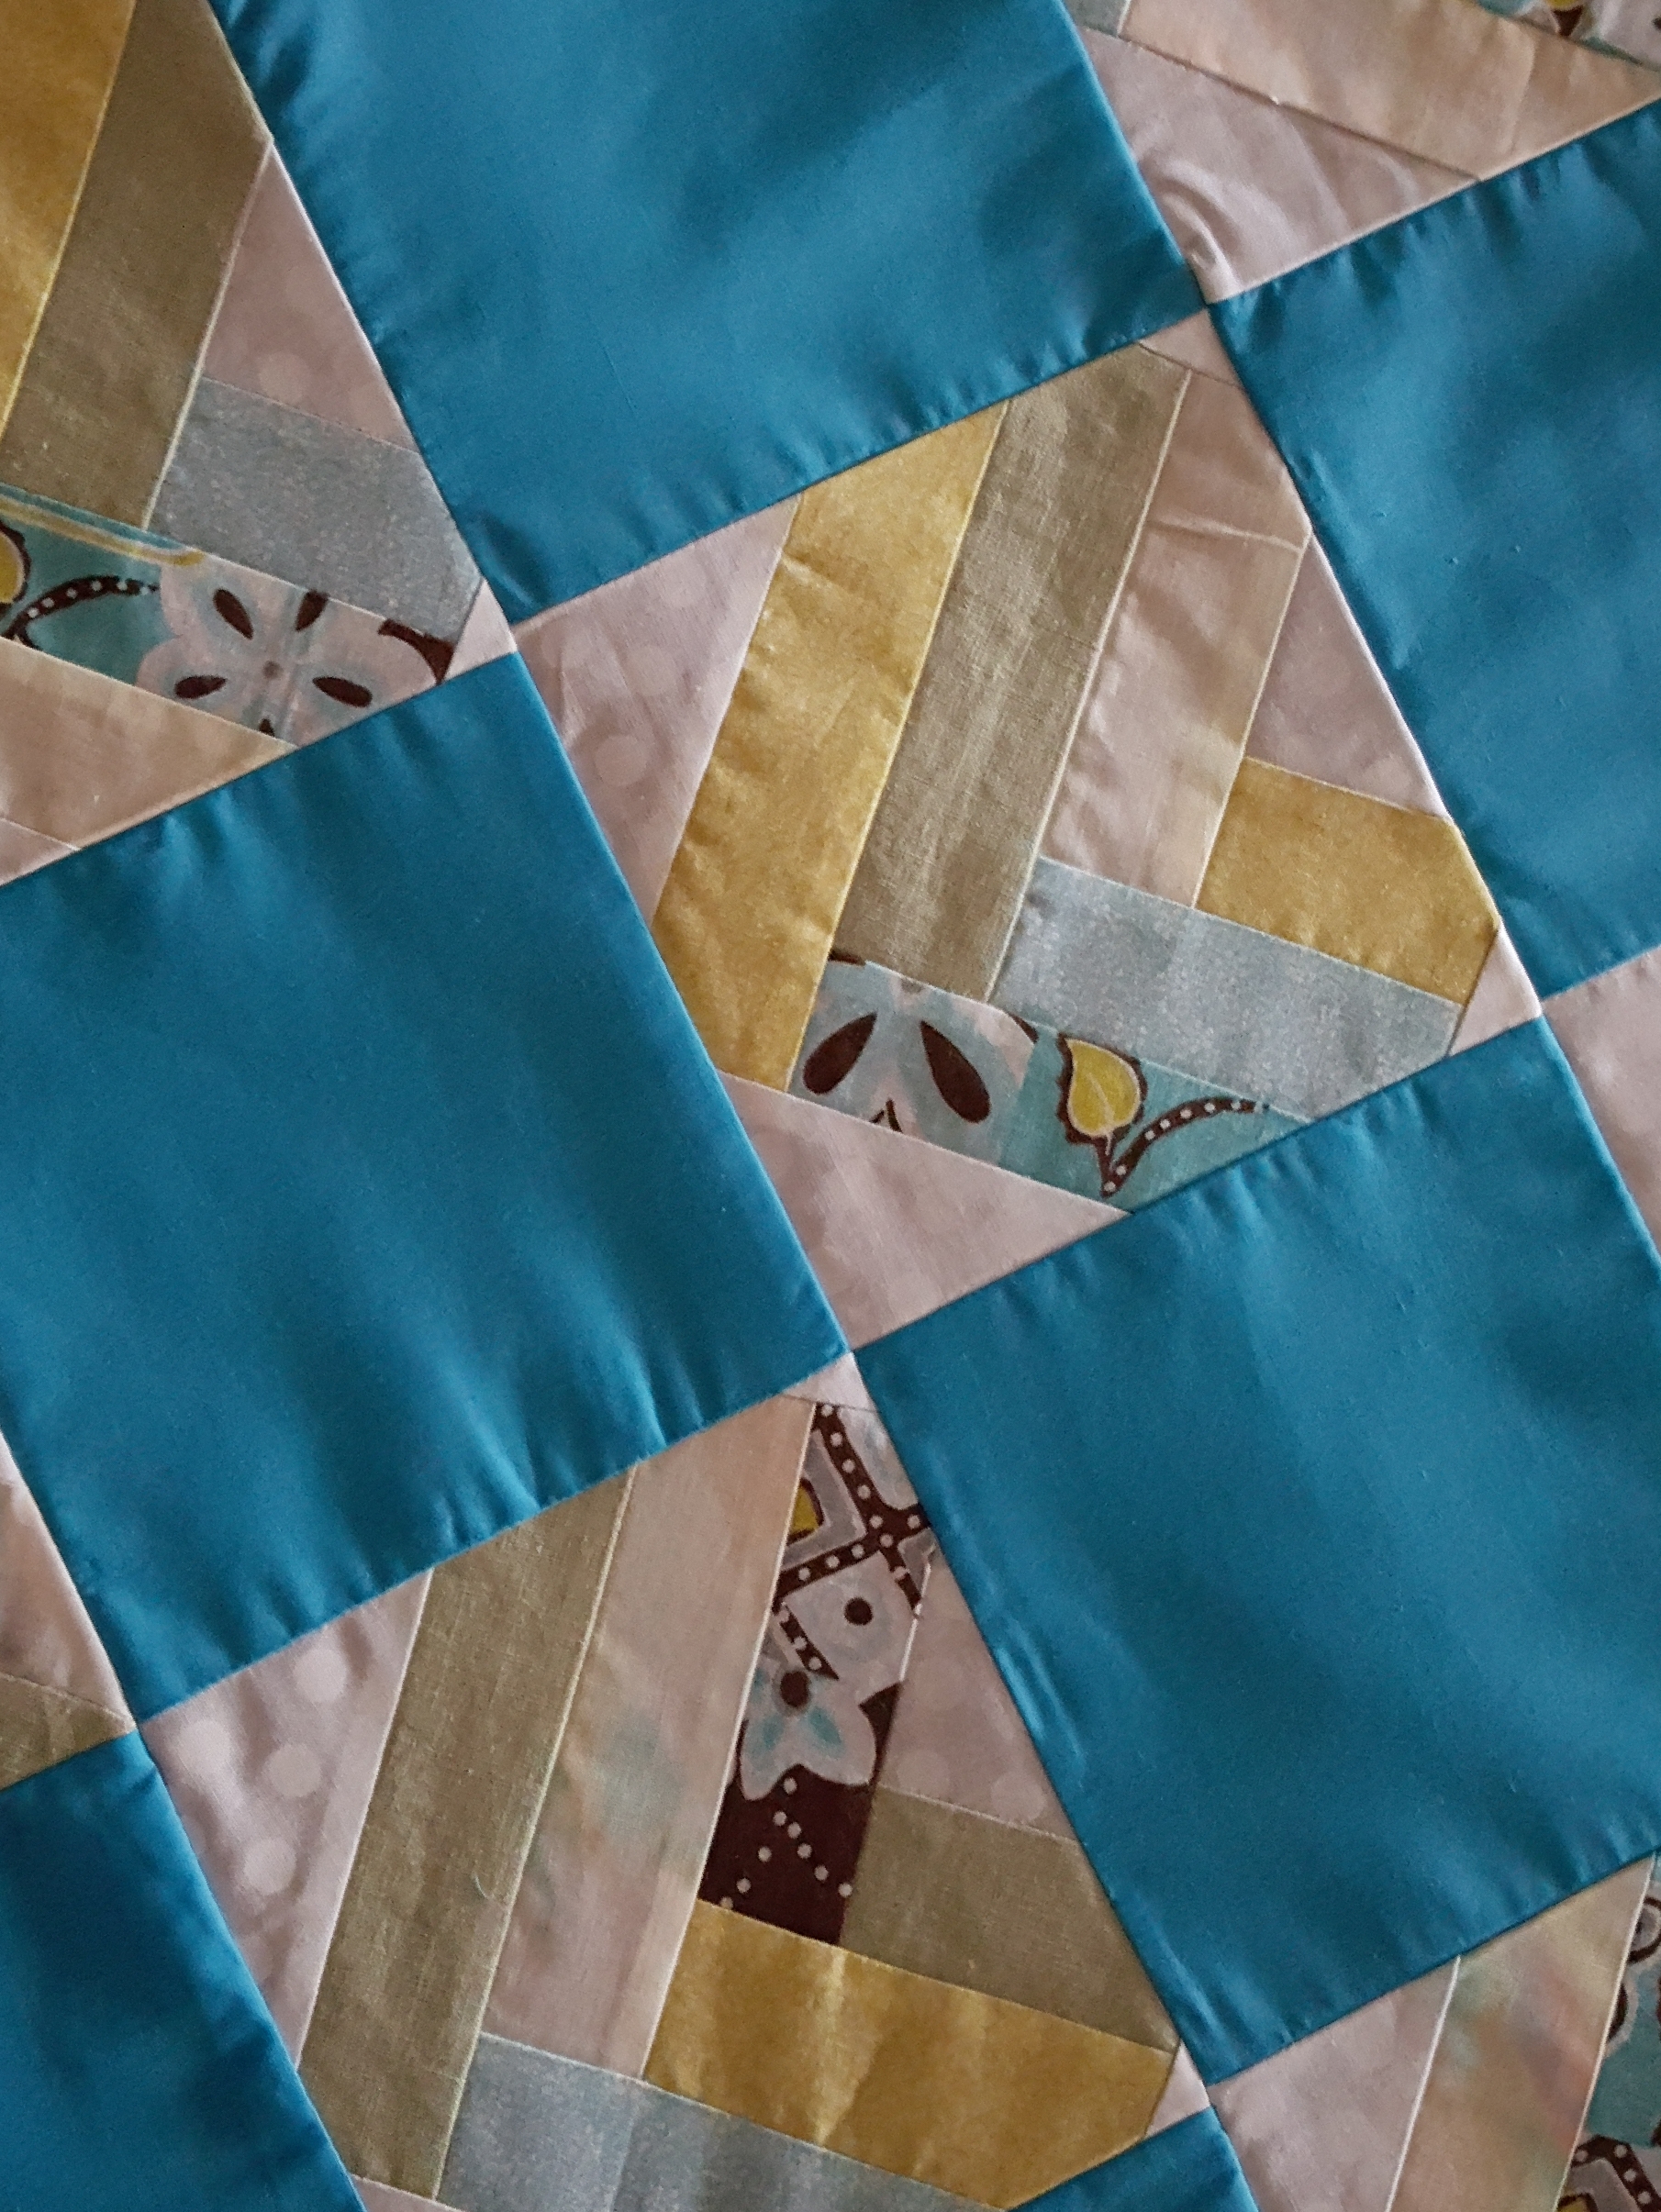
 

My “Baby Jane”

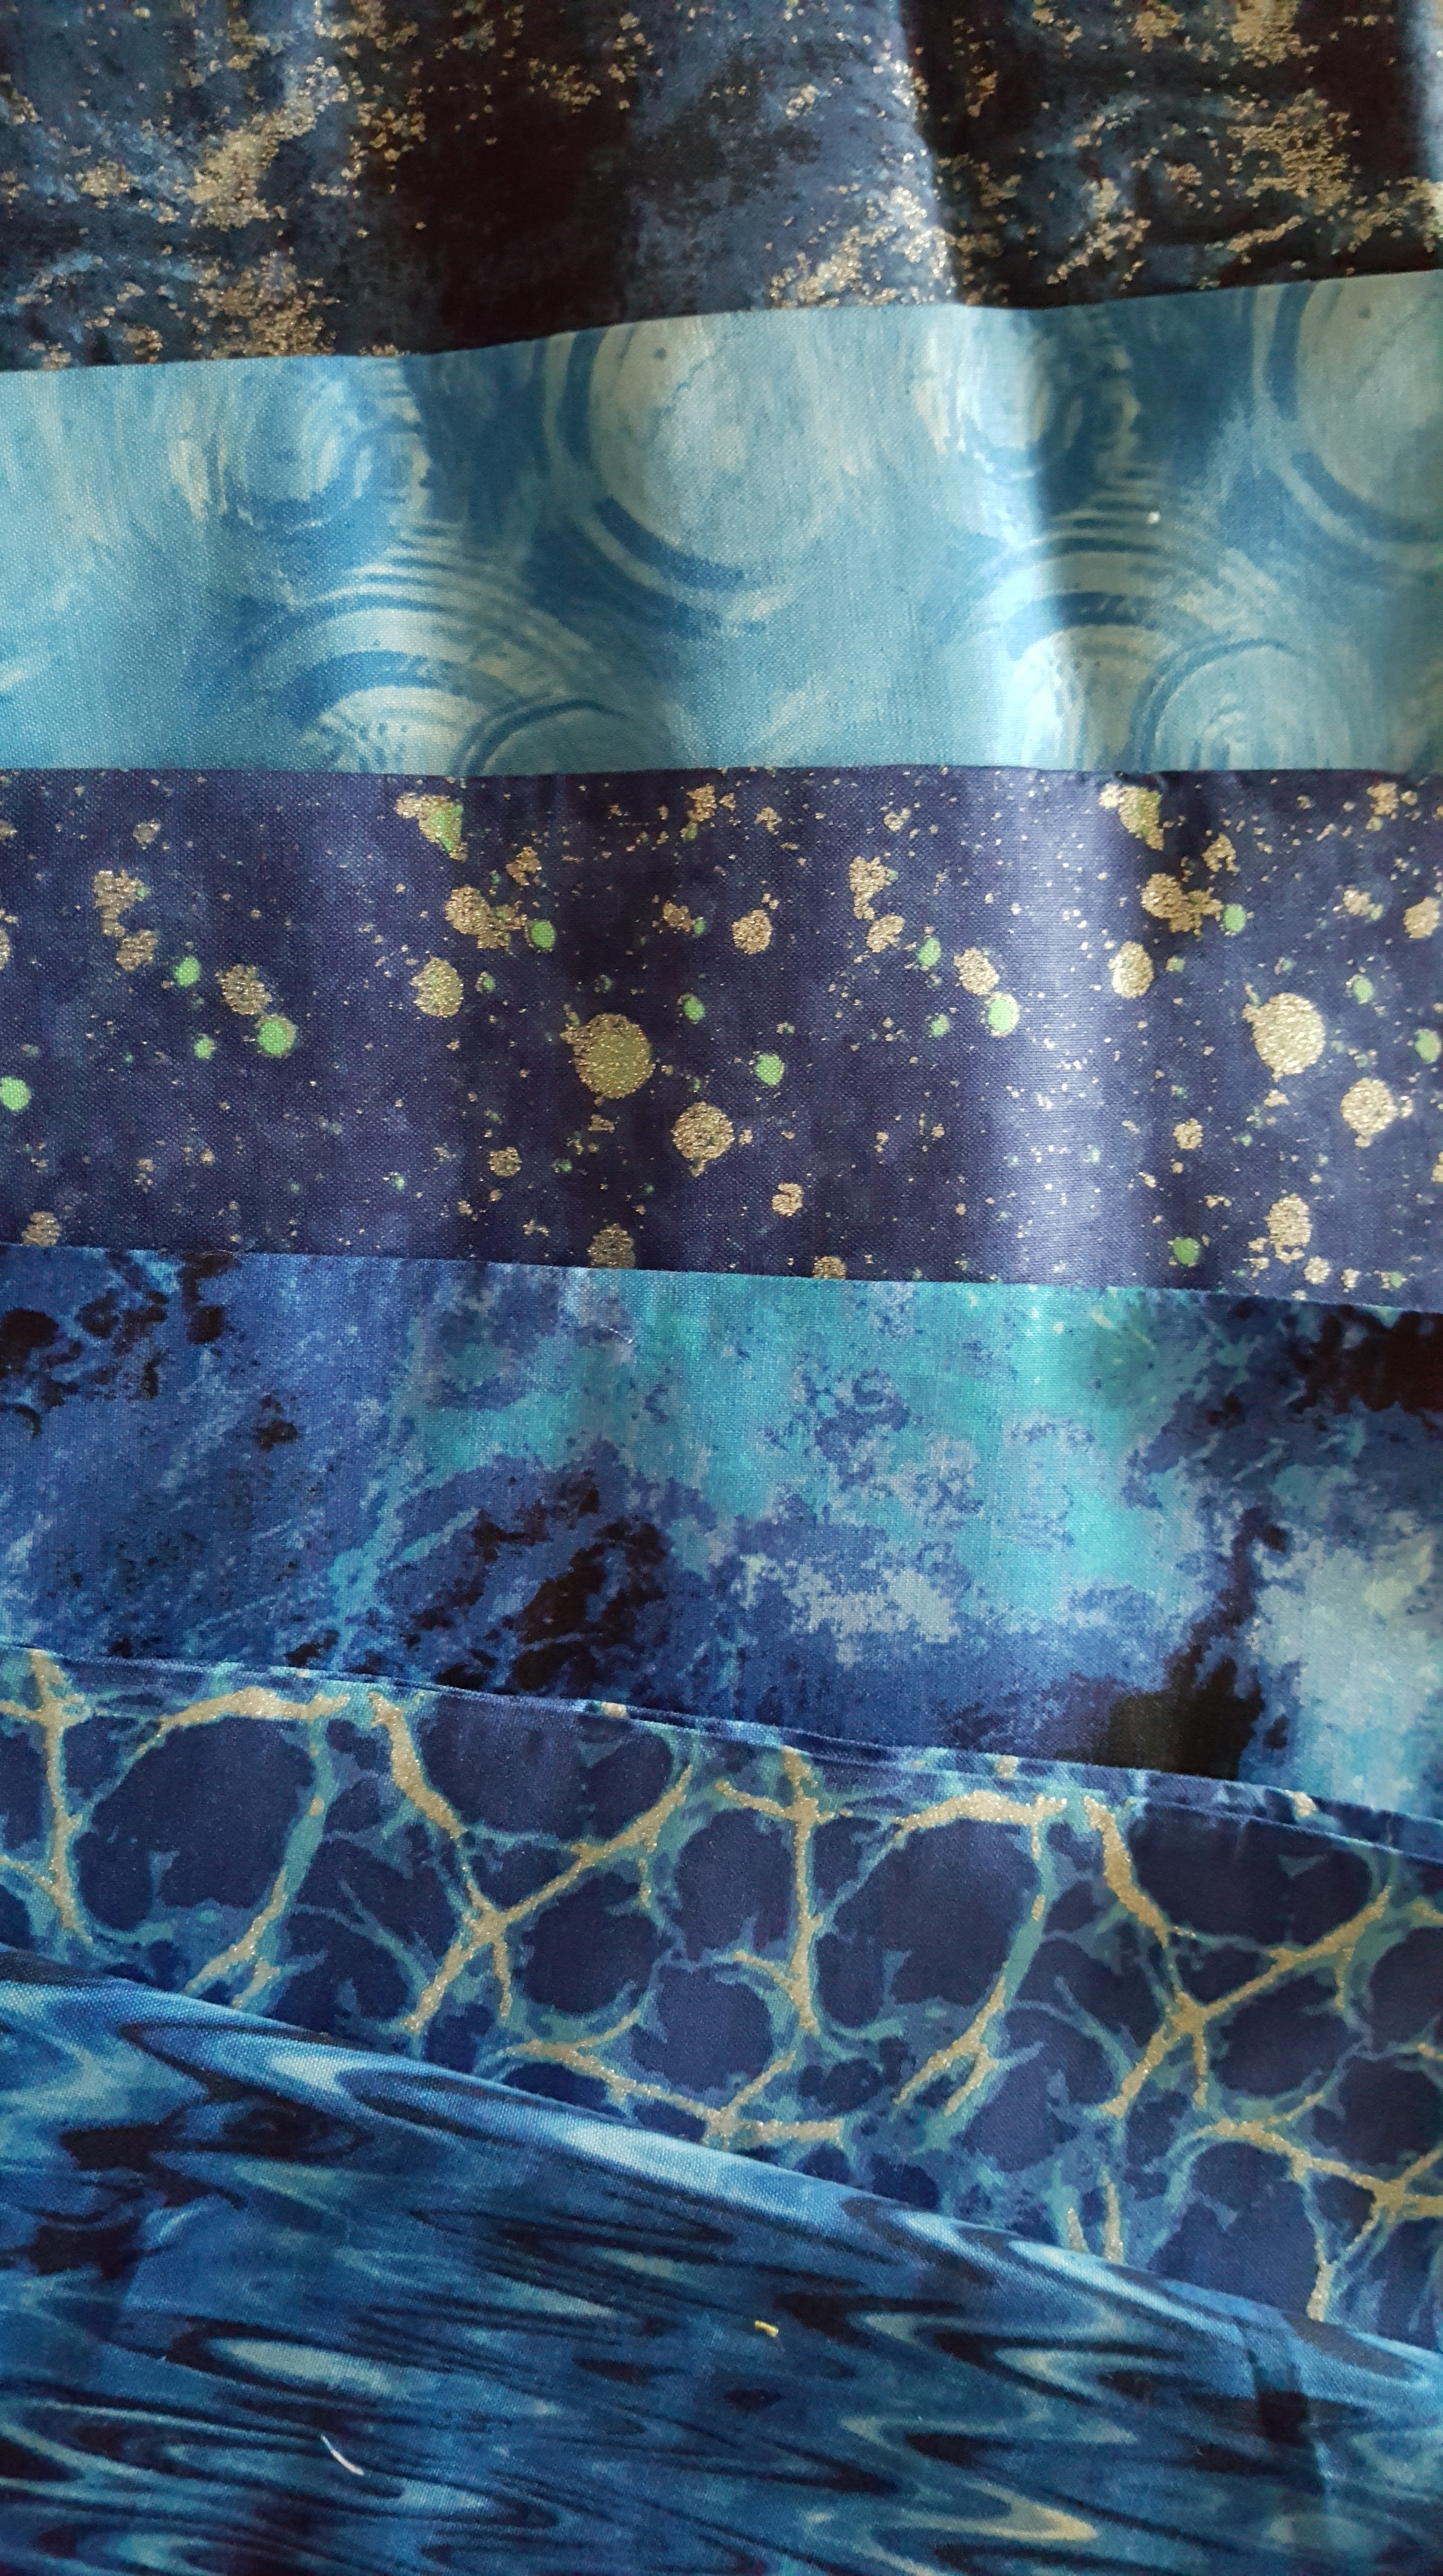
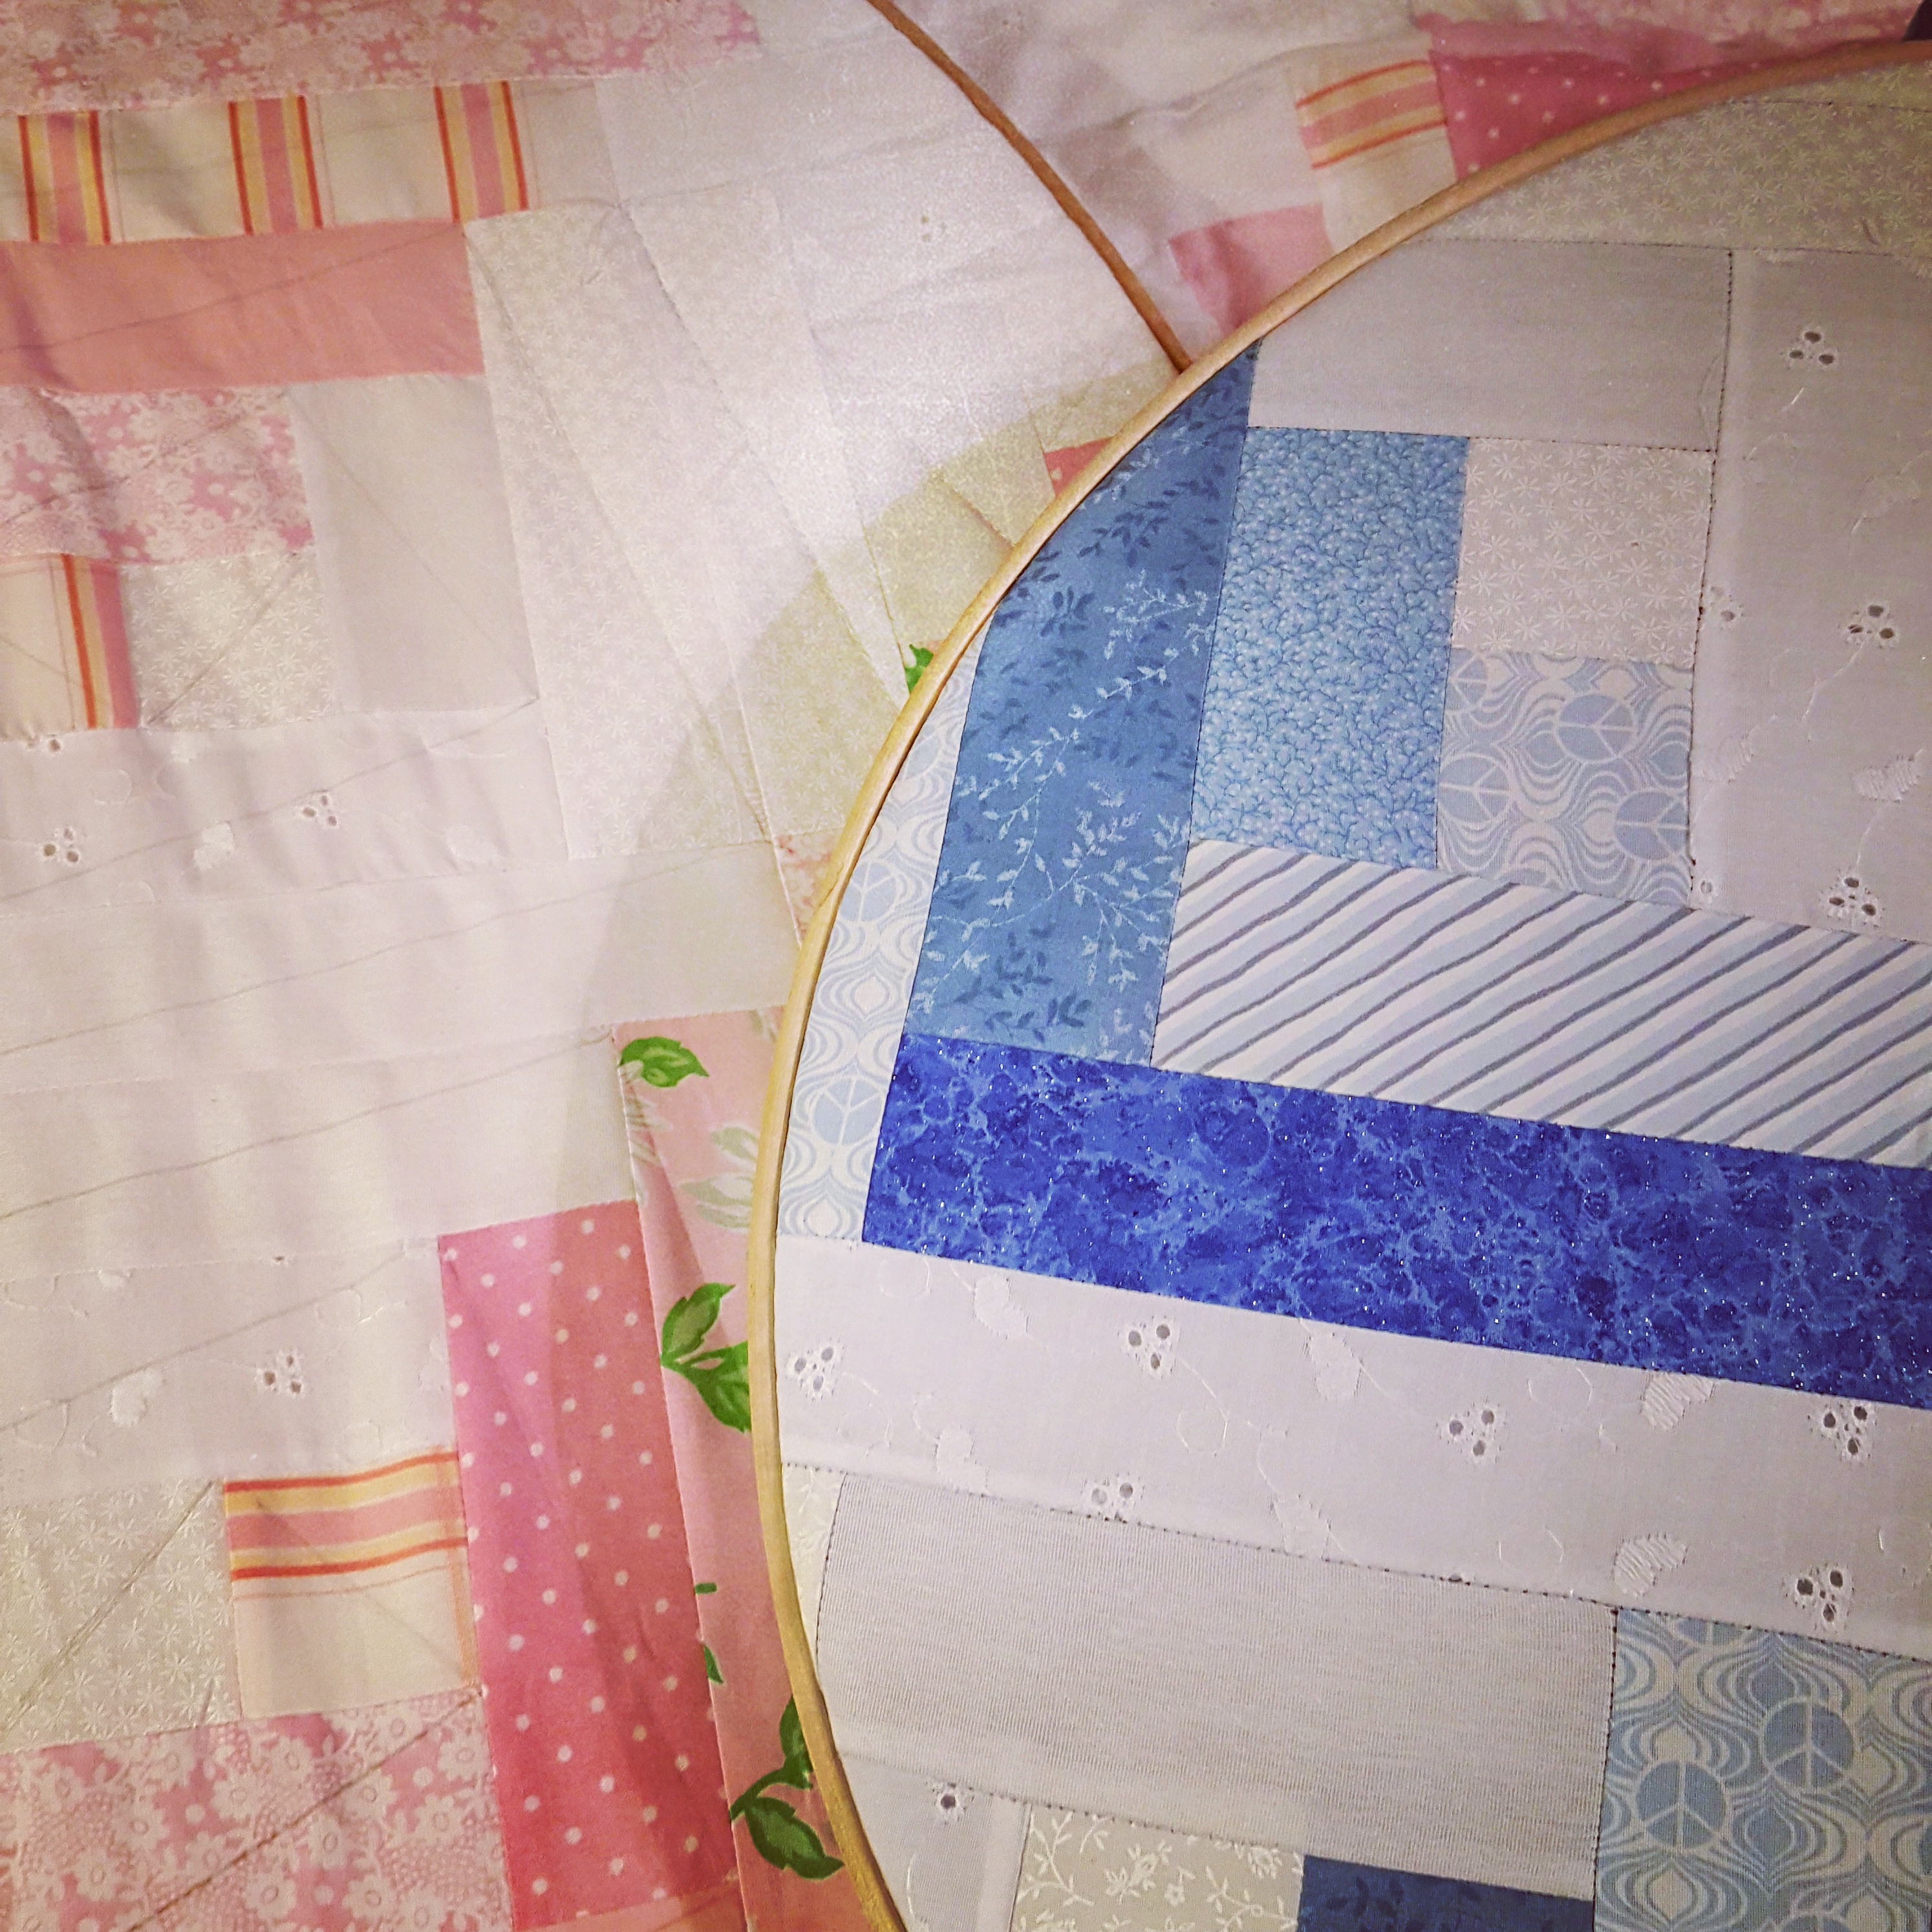
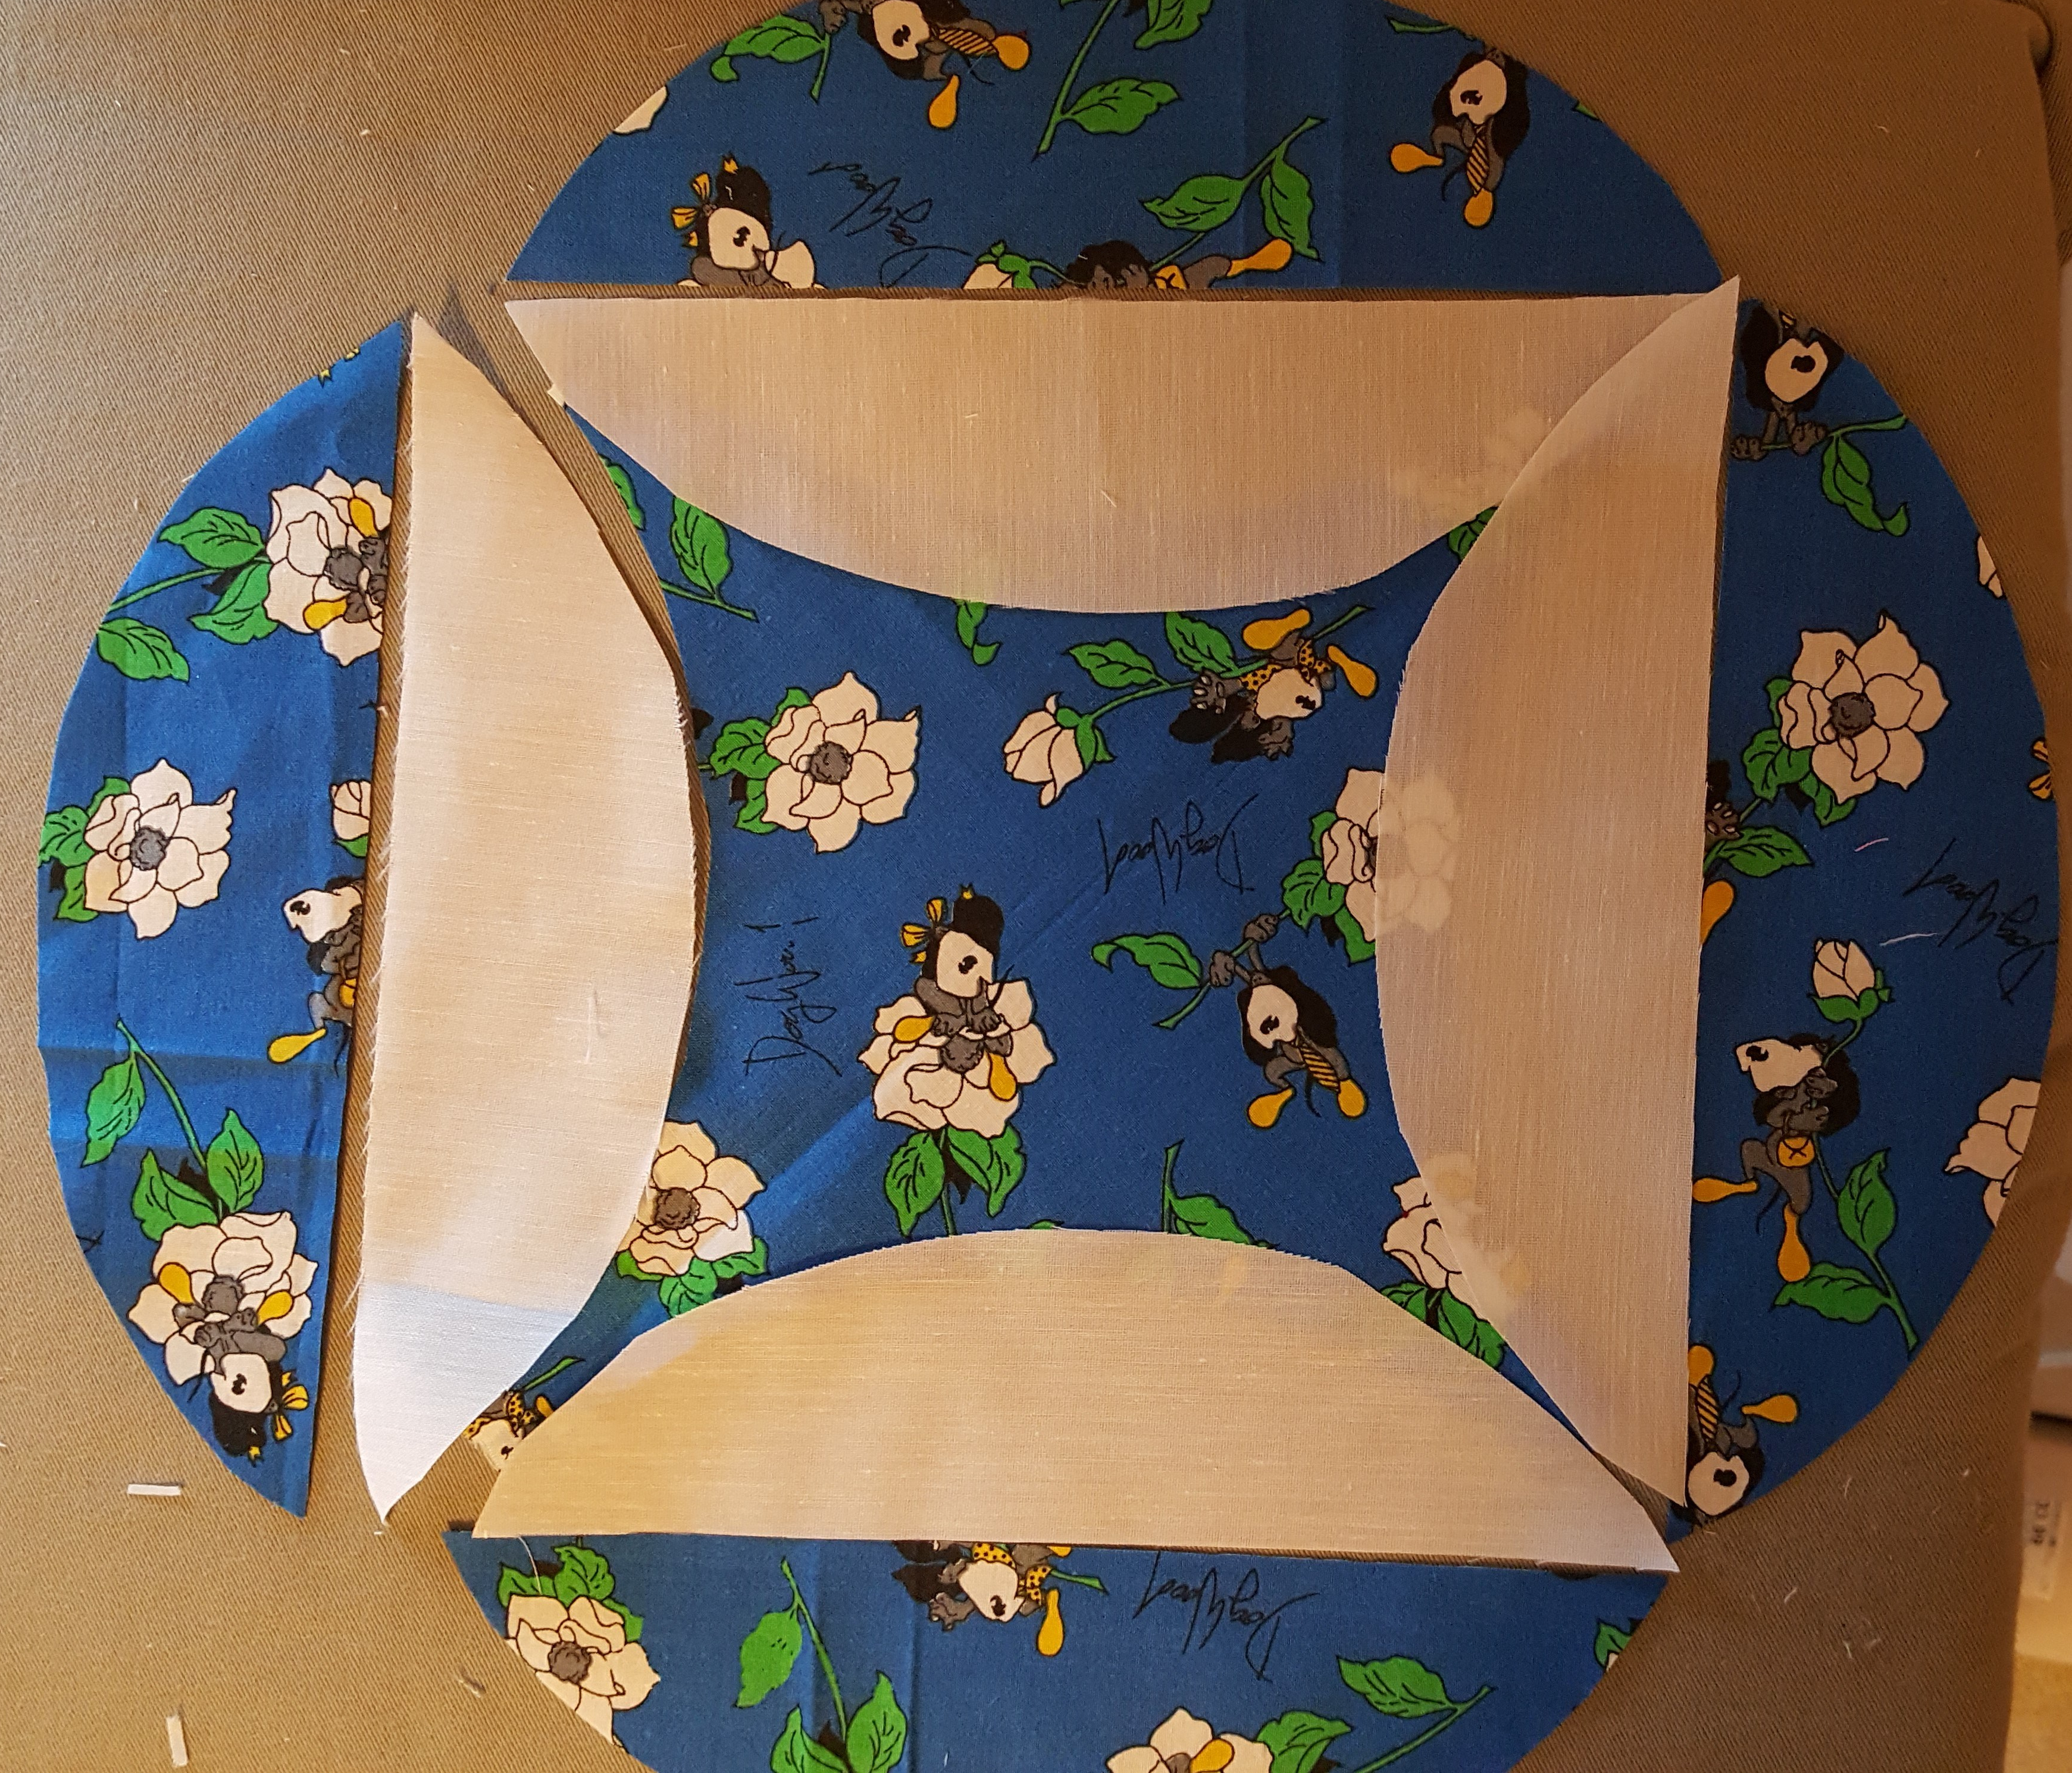
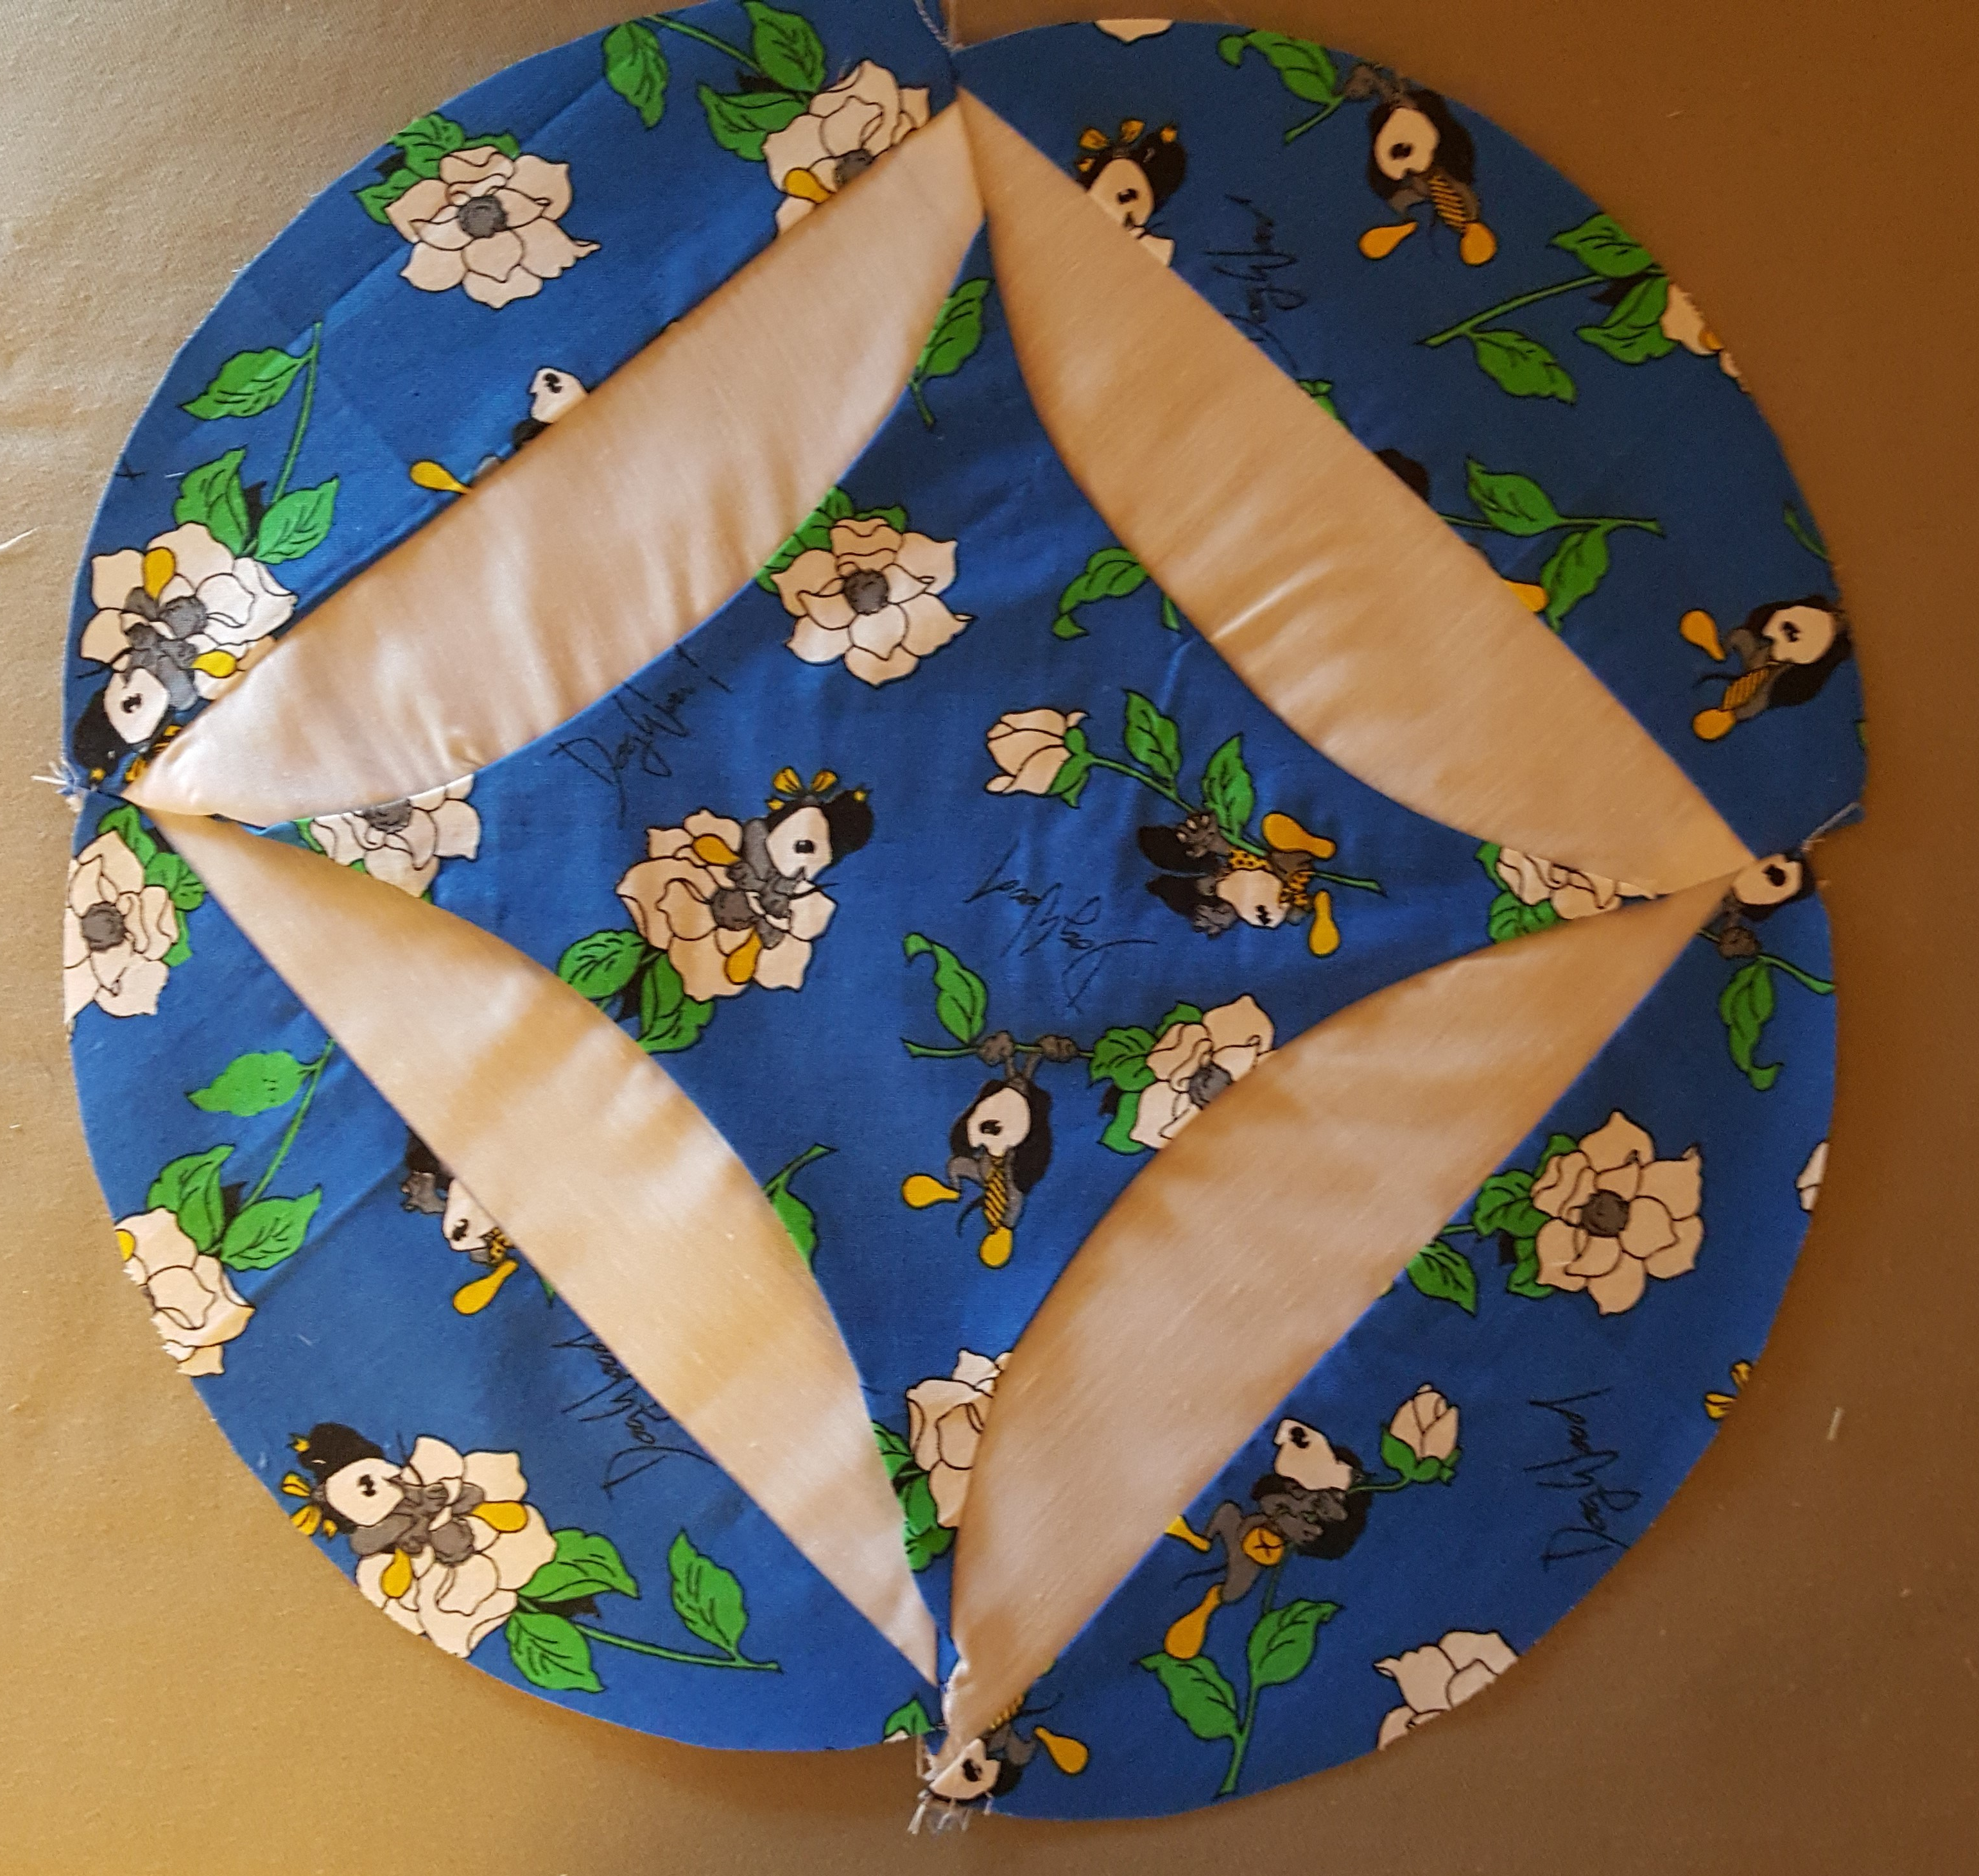
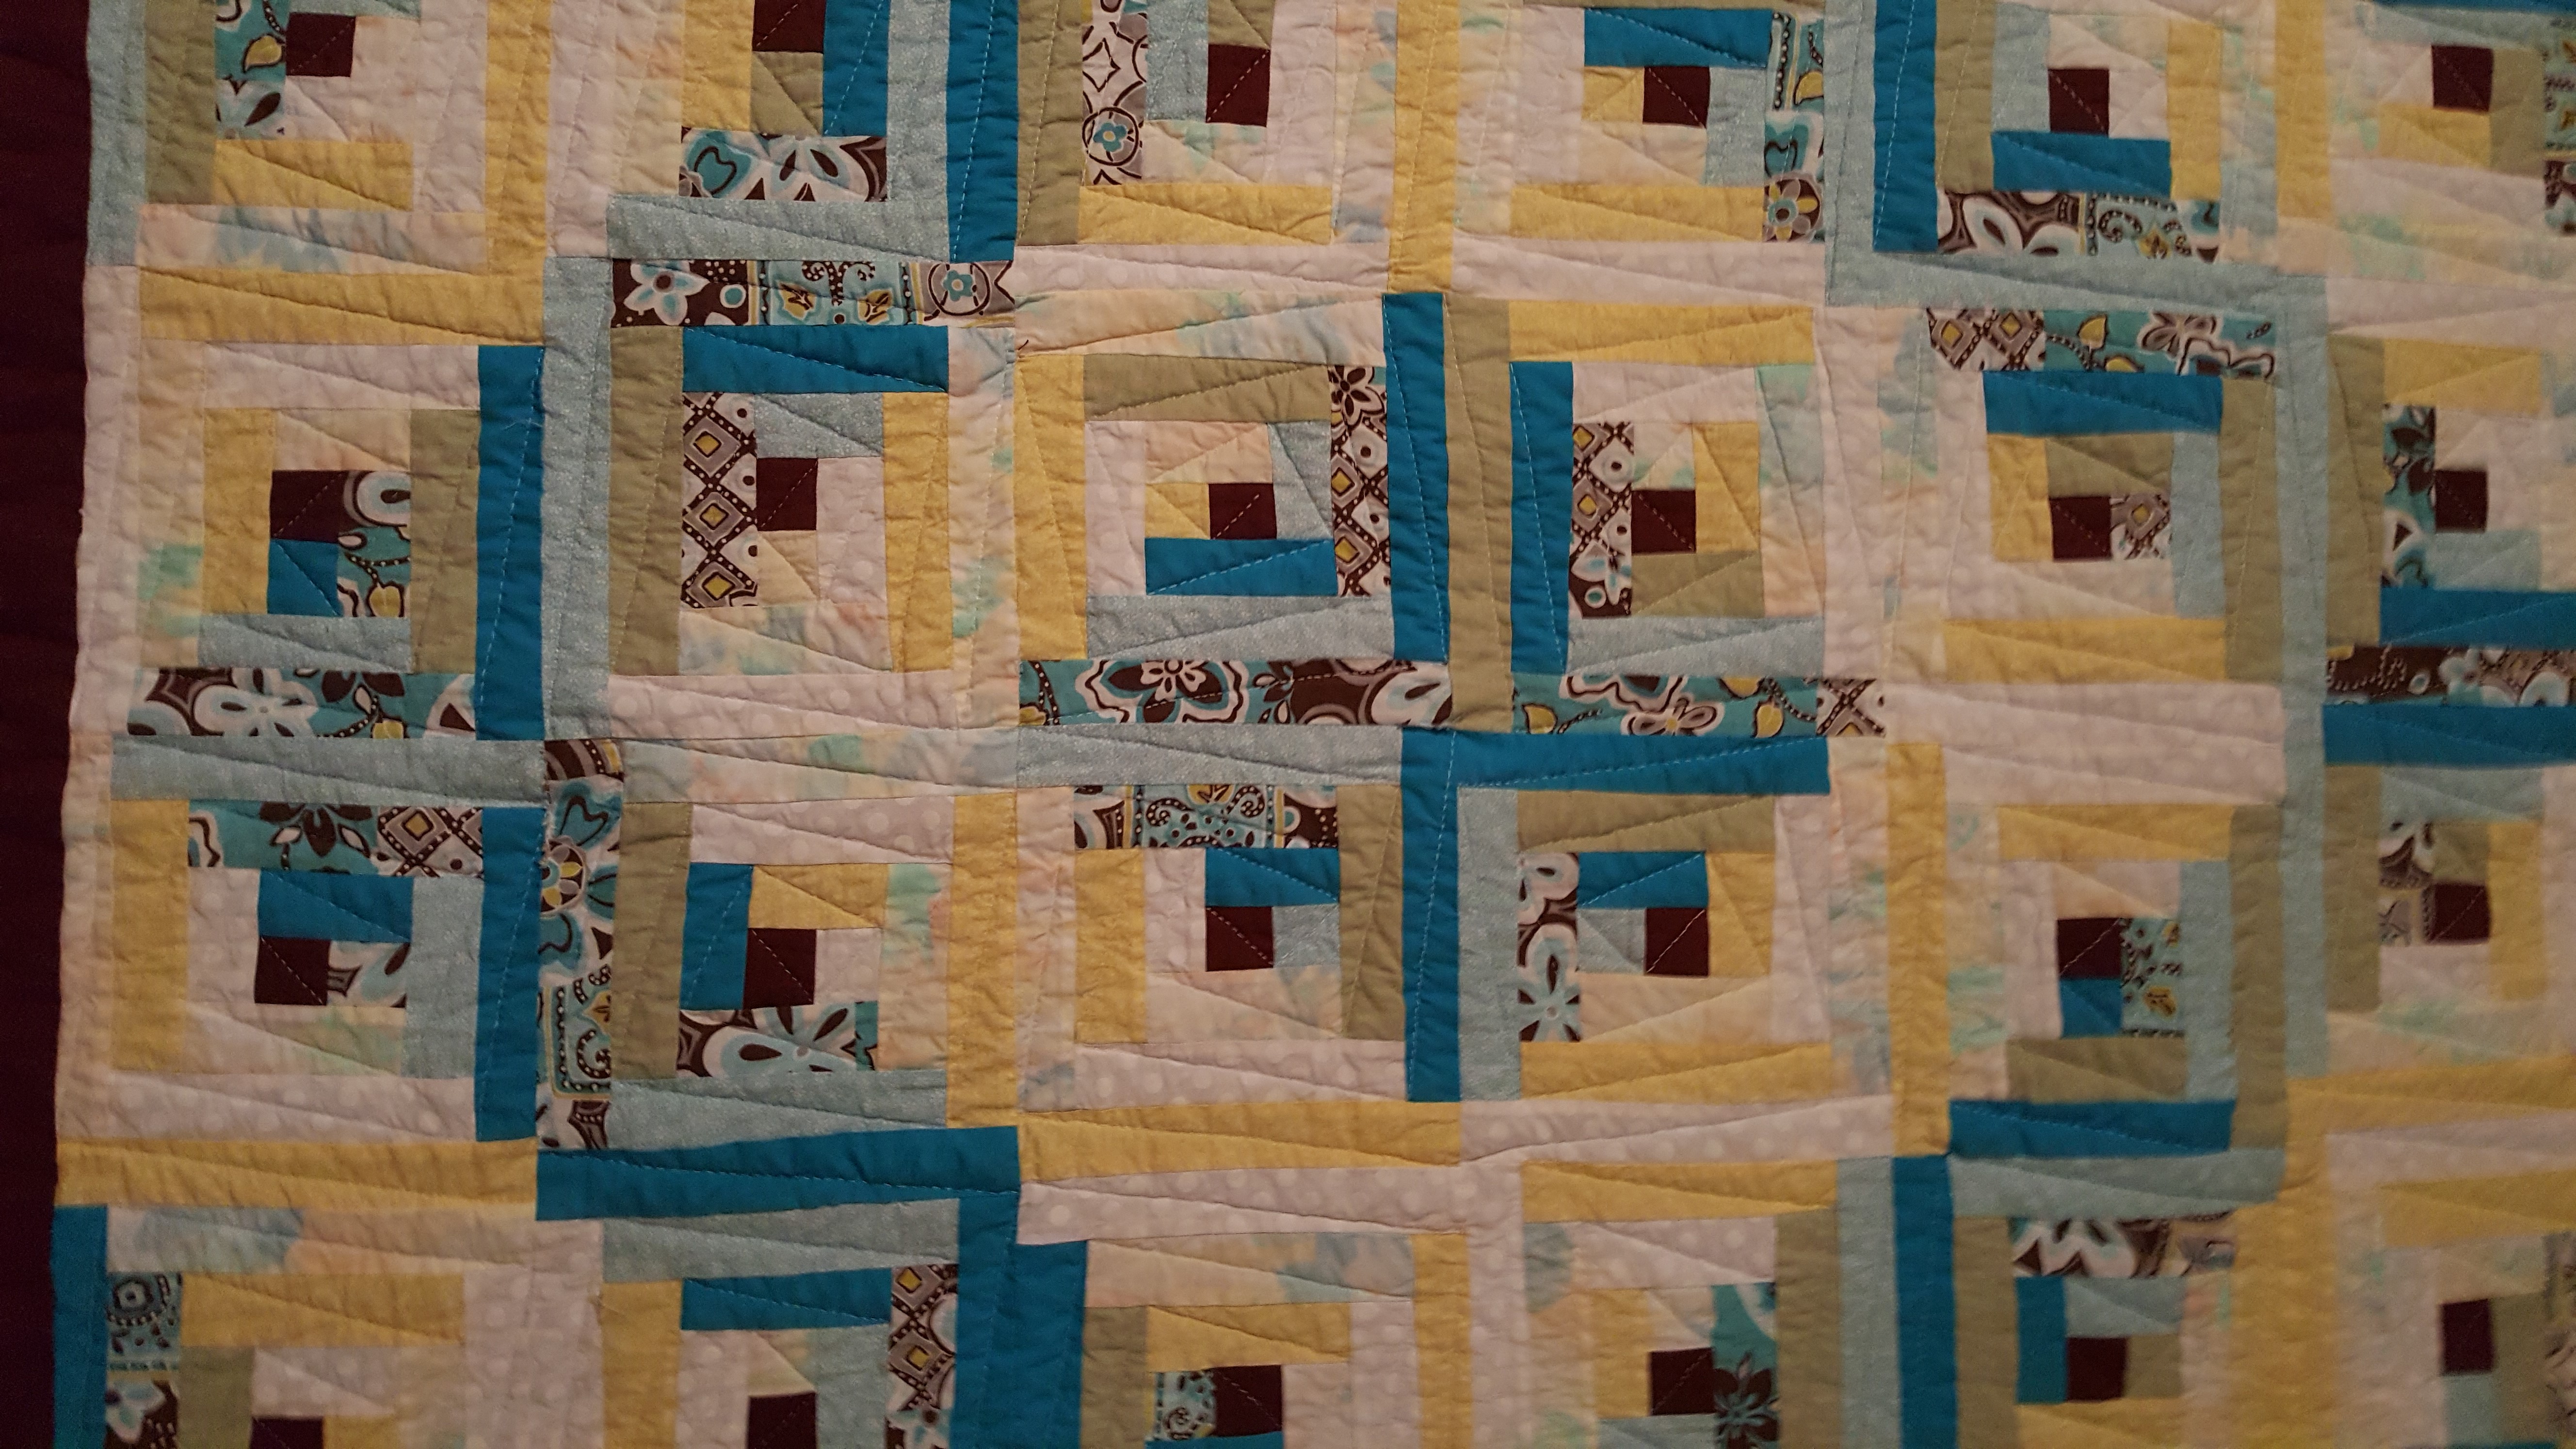
These variations are often called Baby Janes: not quite the original and certainly not period‑correct in technique or materials. Mine will be pink (because PINK) and black. At first, I thought I’d stick to one pink and one black throughout the quilt, but I’ve pivoted. Instead, I’m leaning into my stash and embracing the true spirit of a stash‑buster—meaning no new fabric purchases.


The Fabric–Thread–Needle Trinity

Even while stash‑busting, the quality of your materials matters. Always keep in mind the quilting trinity: fabric, thread, and needle.

  • For 100% cotton fabric, I’m piecing with cotton quilting thread and using a universal needle.
  • For embroidery, I’m using silk thread with a silk needle, so the thread melts into the weave.

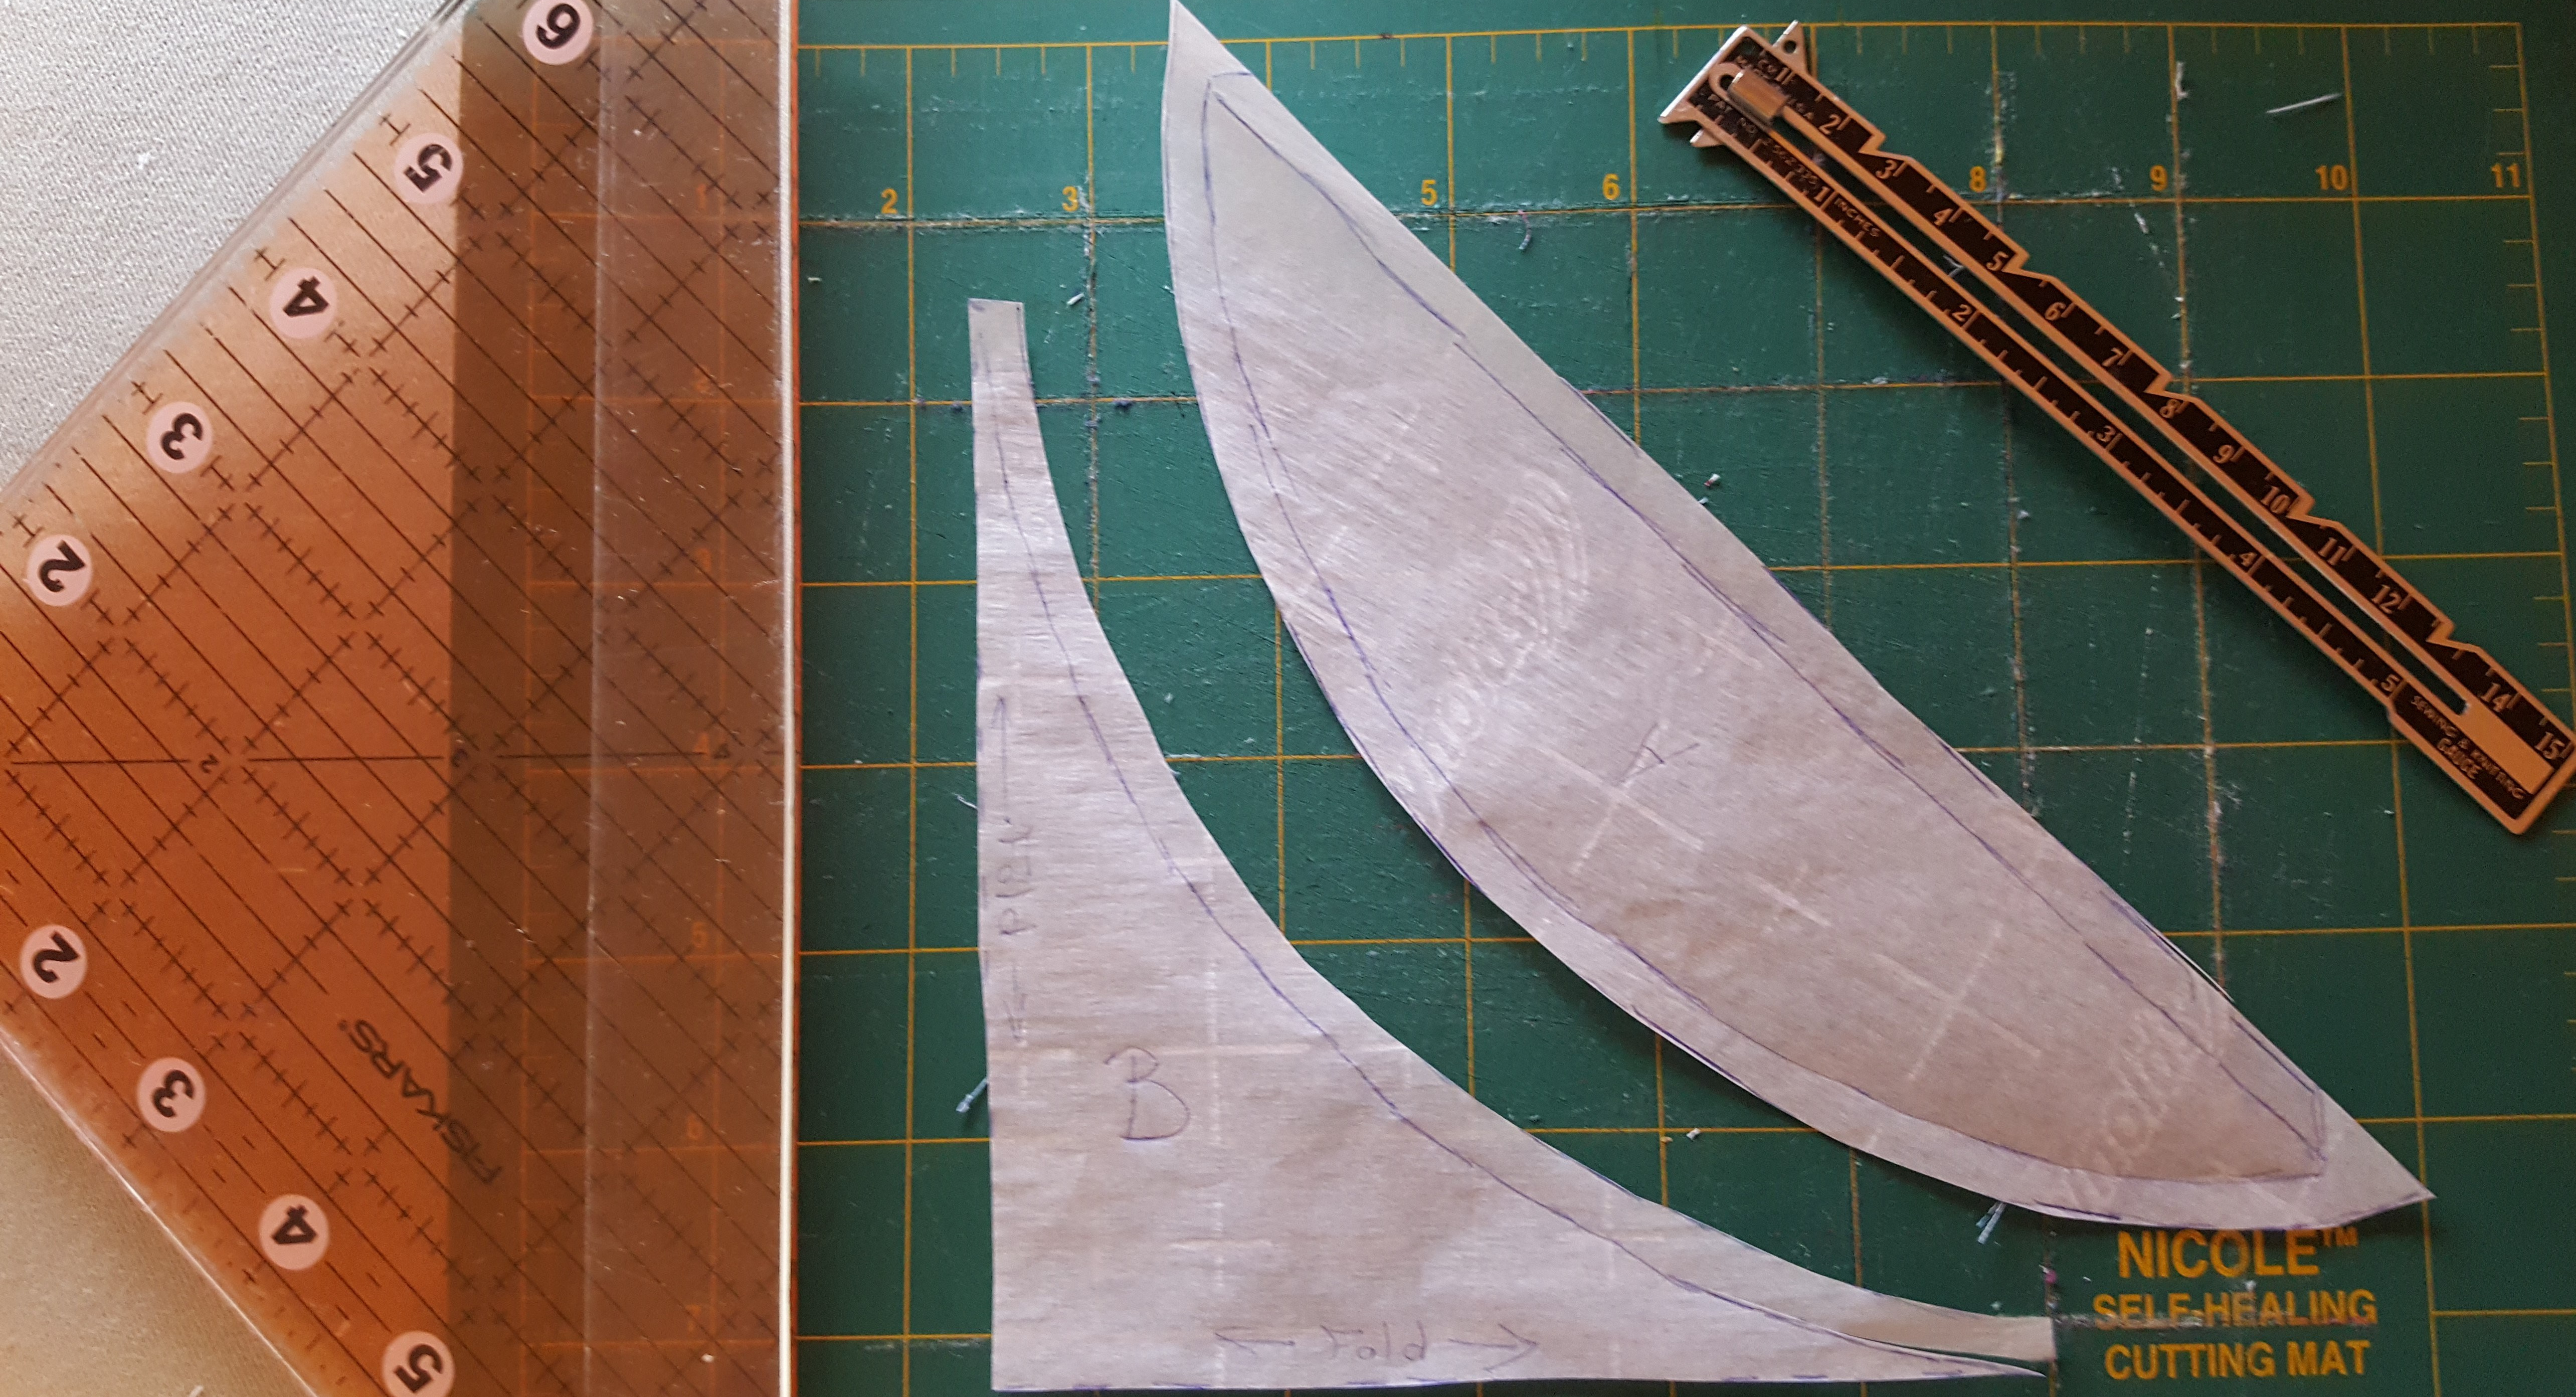
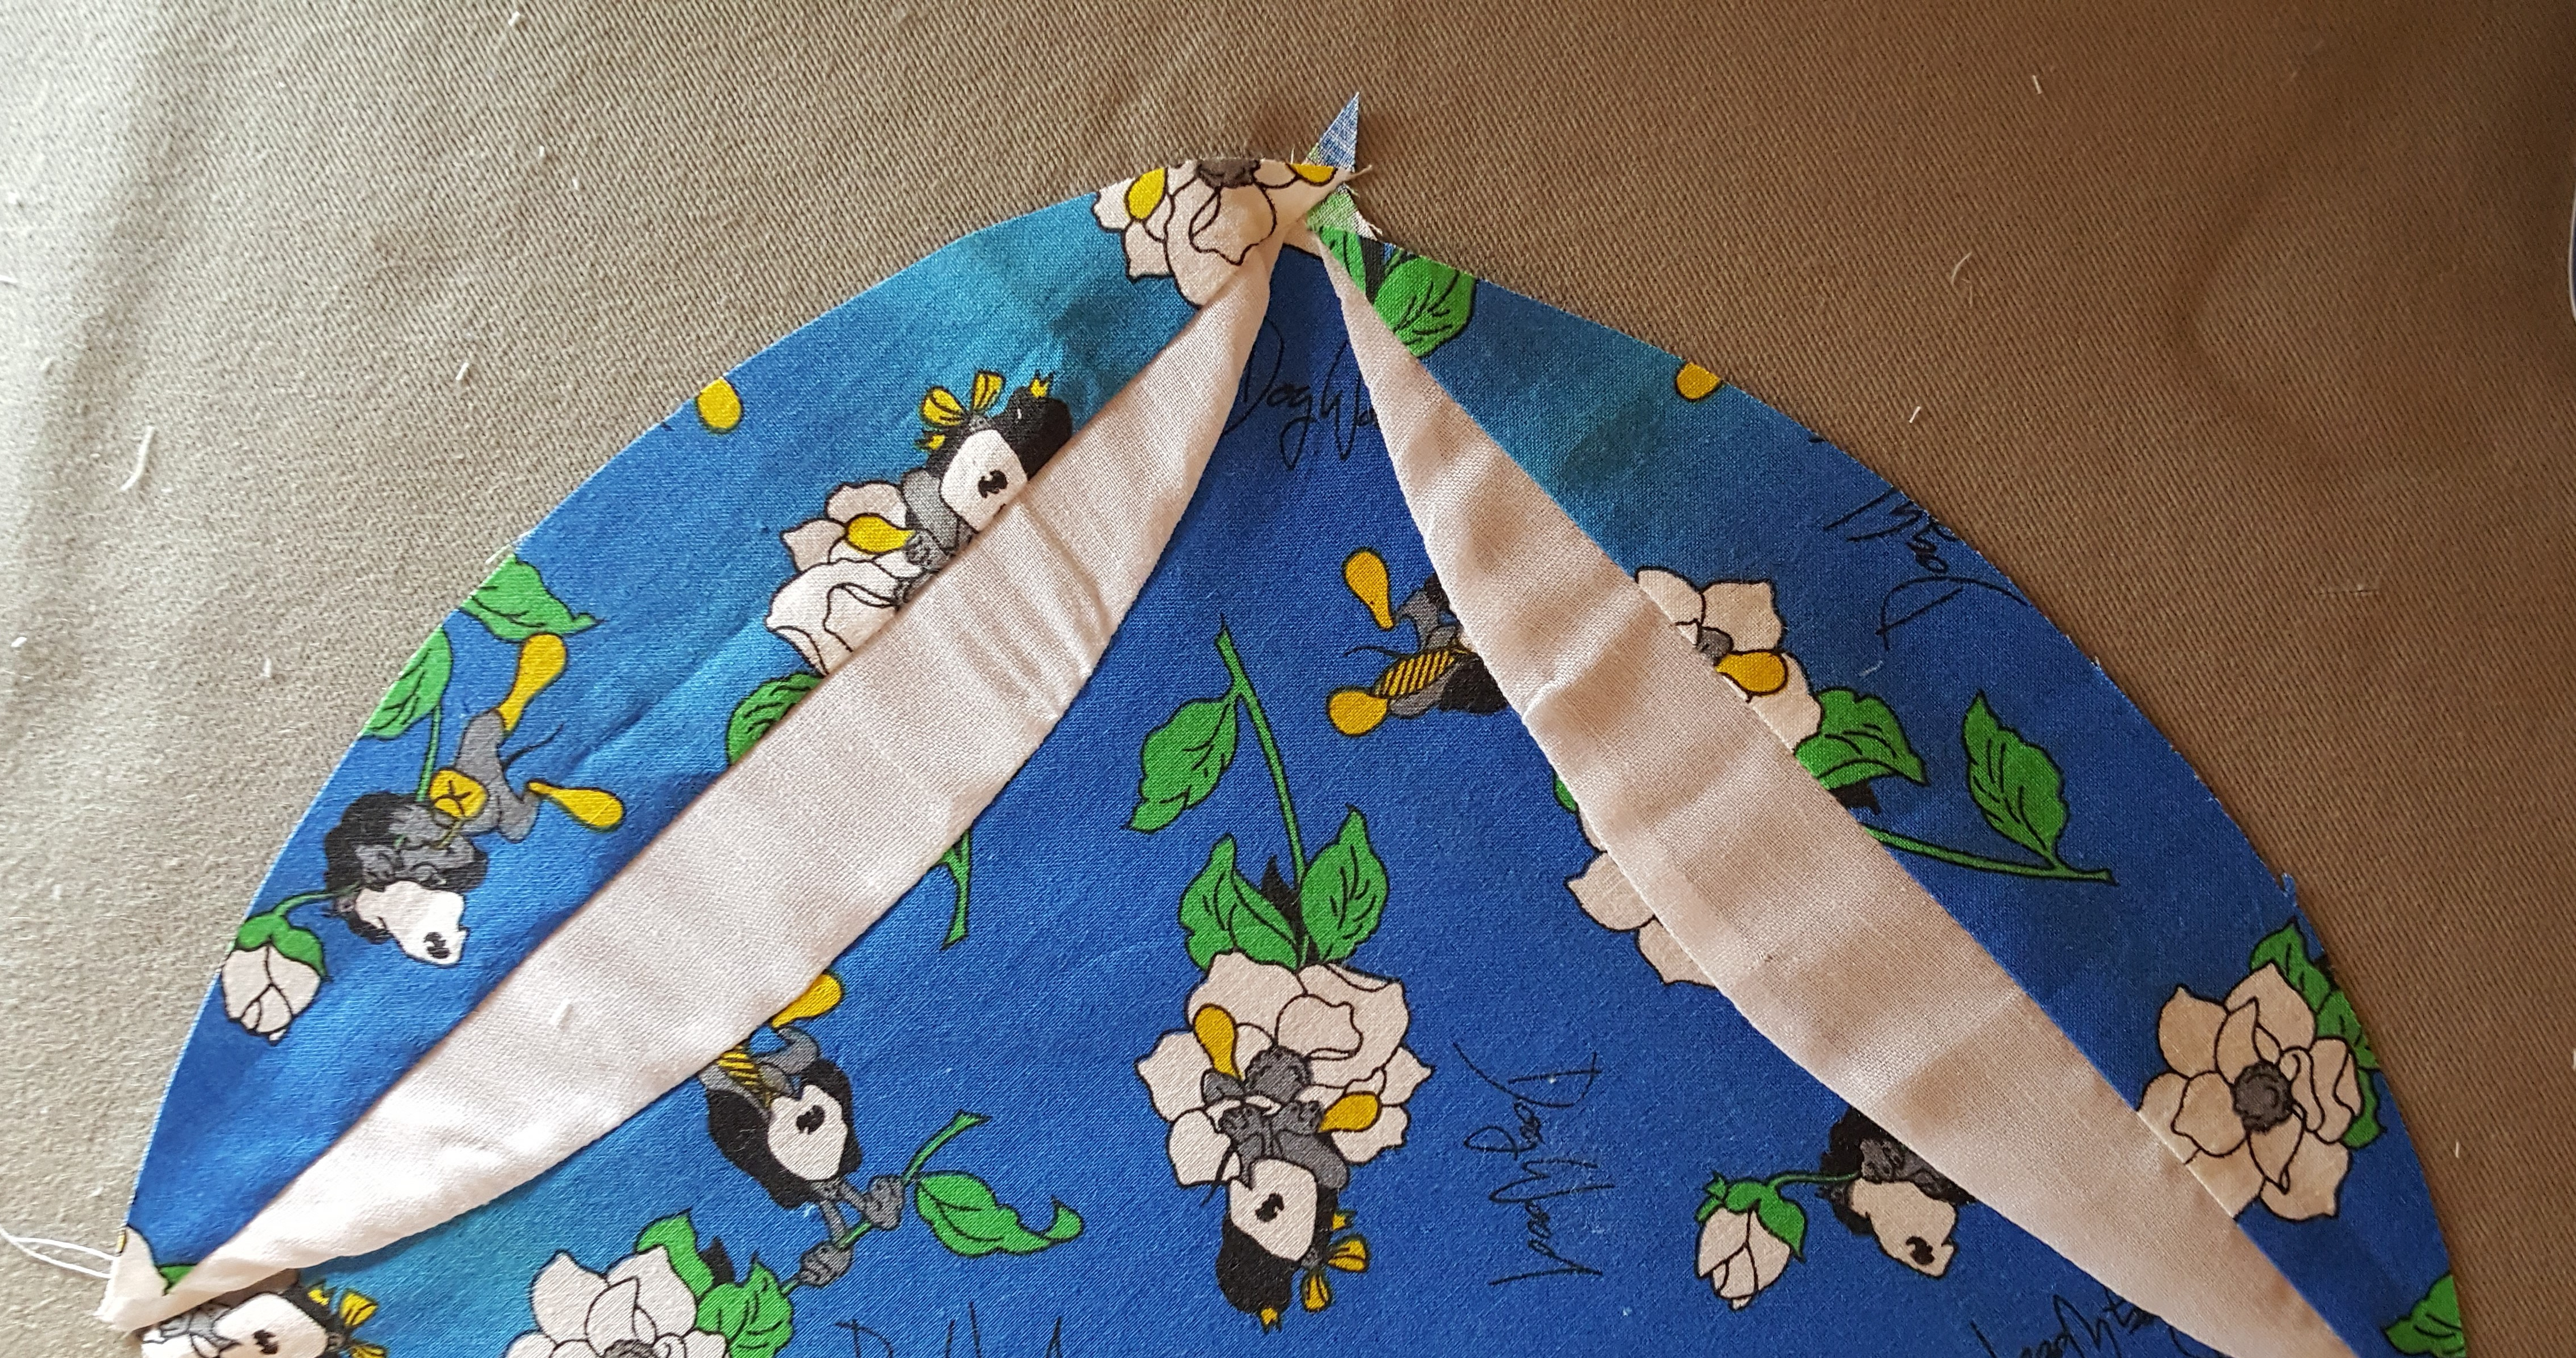
Grain line matters—these blocks are tiny, and accuracy is everything. While there isn’t much opportunity for fussy cutting, take time to consider how your print will land in each block.

And now, a hill I will happily die on: Pre‑wash your fabric.

Yes—again for the ones in the back—PRE‑WASH.

I don’t typically pre‑wash quilting cotton, but with blocks this small and this detailed, any bleeding or warping becomes an unnecessary challenge. I recommend pre‑washing in ORVUS (linked on the Shopping page) using cold water.


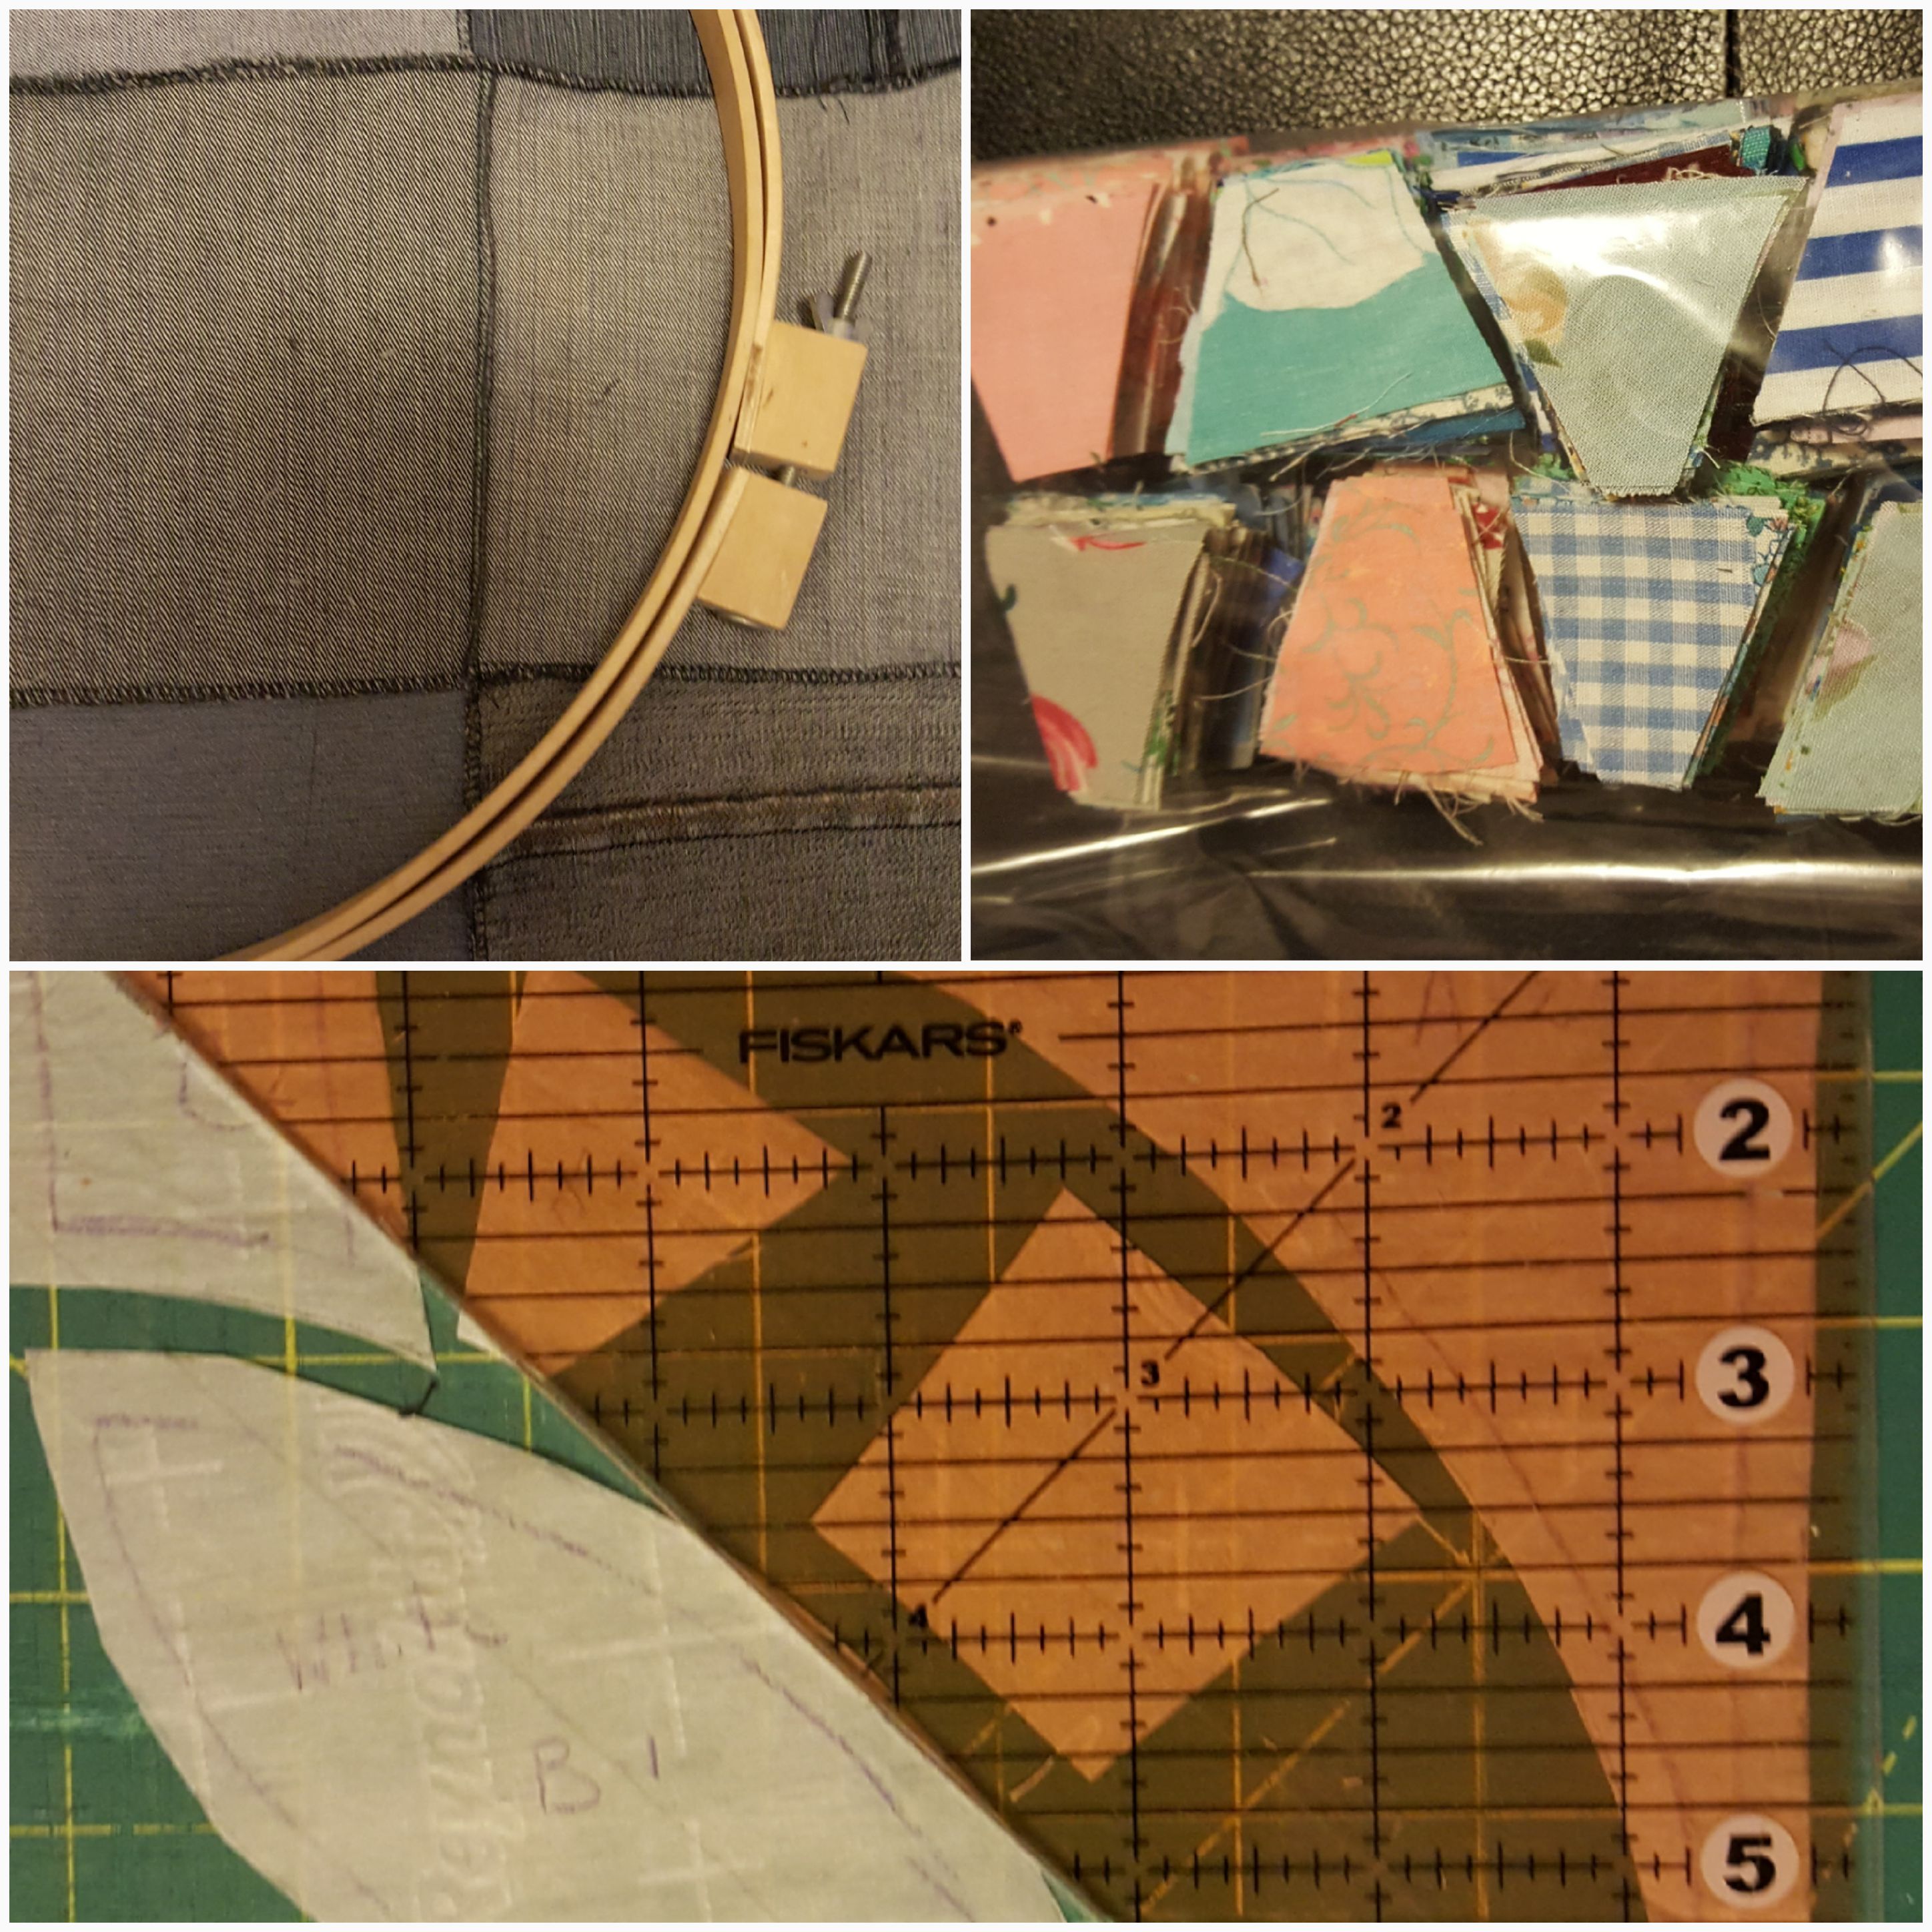
Precision Is Everything

Precision cutting will make or break this quilt. Being off by just 1/16 of an inch, repeated 225 times, can leave your quilt nearly 7 inches out of square. It adds up fast!

I personally prefer Fiskars scissors and rotary cutting tools (linked on the Shopping page). For templates, I use Reynolds freezer paper (also linked there).

Rulers are essential as well. Modern rulers are more accurate than vintage ones, but the key is consistency. Whatever ruler you begin with, use it throughout the entire project. I’ll be using my Fiskars 3″ × 18″ acrylic ruler—it’s my go‑to for smaller blocks.


Pins and Needles

Pinning is critical for accuracy. Clover straight pins are slim and sharp, making them ideal for precision work. I recommend:

  • #11 and #12 sharps for hand‑piecing and appliqué
  • Size 70 and 80 needles for machine piecing

If you’re comfortable with fabric adhesive, that works too. I struggle with blind appliqué, so I’ll be using a bit of adhesive to keep things under control.


Come Along on the Journey

If you’re curious to see this Baby Jane come to life block by block—or if you just enjoy cheering from the sidelines—I’d love for you to follow along.

✨ Follow the Blog: stay updated with weekly progress, tips, and mishaps

✨ Visit the Website: resources, tools, and the Shopping page with my favorite products

✨ Join me on Facebook: community chats, photos, and in‑the‑moment updates

✨ And wherever else you follow creators—whatnot, socials, you name it

Your encouragement keeps this project alive, square, and (mostly) un‑seam‑ripped.

Shall we climb this quilting mountain together? 🧵⛰️💗

Gift of Hand Quilting

My Mom found a book of hand quilting patterns on one of the flea market outings, and she gifted it to me for my birthday. I have spent a week transferring the patterns to transparent plastic stencils. I have most of them ready for use and marked for border or block size. I think the best use of these would be a whole cloth quilt, but that will have to wait. There are open projects ahead of that.

I have hand quilted all but one of the quilts I have pieced. I think my stitches are even and relatively small, but that is only my rookie eye. Antebellum era quilts were expected to display 10 to 12 stitches per inch. Yes, 10 to 12 stitches per inch, and it recommends counting the weft and warp threads for even stitching. For perspective, weft and warp threads are the tightly woven threads that make cloth. Look closely, very closely – all natural cloth is made of threads woven. That is what they recommend counting. Small stitches are an understatement!

Why? you might ask. I am going to speculate, because firsthand accounts are not available at this point, and I have not found the documentation to prove my hypothesis. First, quilts were typically used extensively, and constantly reminding a child or loved one to be careful not to pull a thread was not practical. Such small stitches are not going to pull, break, or snag easily. Second, by adding thread the fabric is stabilized. More thread, more stable. Lots of quilts were made from worn garments, bedding, and feed sacks that were worn out from the previous uses. These are utilitarian reasons, and ones I think to be valid. Third, I think there was a personal pride in mastering the small, even stitches. It is not a stretch to imagine the ladies around a quilting bee comparing and coaching the younger ladies to master this level of hand quilting. 

My Grandmother could quilt that scale; in fact, I don’t think she even thought of it. If she was counting threads, it was so second nature that she probably was no longer conscious of it. I have made myself a scale, and with these “new” templates I am going to make a sampler. I have no doubt I will need my seam ripper and need to start again and again. I am determined to learn these skills to make quilts that are beautiful, loved, and useful.

In the book there are in-depth descriptions of where patterns came from – antique stores, auctions, museums, collections. Amish quilters seem to have providence on the meaning and source of the patterns used. Some are lost to history and appear to be the fancy of the quilter. Some are very symmetrical and some are artistically drawn with whimsy. The hidden stories of quilts are part of what draws me into each one. The patterns have meaning; the color selections add another level of meaning; and to complete the story, a quilting pattern is used to literally and figuratively tie it all together.

I will continue to update you on the treasures I am learning and skills I am developing.

Thank you, Mom, for knowing that I would love an old quilting book!

Thank you, as always, for spending some time with This Lil Pig Studios!

Time to Chat

I have been single-mindedly focused on a king-size double wedding ring quilt which was commissioned and have dropped the ball on everything else while working on it. However, I am down to the short rows on having it completed after a relatively quick turnaround of only 6 months. Yes, it takes 6 months to cut, piece, baste, hand quilt, and bind a king-size quilt.

Let’s be really honest about what has to happen for a pieced and hand-quilted quilt to be created. After a design and size is chosen, the fabric has to be pulled from the stash and measurements made for what needs to be purchased to complete the project. Then there is the shopping – I know it seems like every color and print is available, but it is not. There are colors and scales to be taken into consideration. Does the quilt have a theme that needs to be followed?

When the supplies are all gathered, the cutting can commence. I utilize a rotary cutter and self-healing pad, rulers, and templates to standardize the cutting. To ensure a fresh start, I clean and maintenance my machine, replace the needle with a new one, and get my threading started. I try to chain piece as much as possible to conserve thread. Then I iron, sew, iron, and sew. I test the layout as I go to check the flow of pattern and colors. And finally there is a quilt top!

The quilt top gets sandwiched with batting and the quilt back. At this point there is basting. I typically put a stay stitch in each block to hold it all together while I hand quilt one hoop section at a time, starting at the center and moving toward the edges. Once it is quilted to the edges, the binding is applied, and I label the quilt.

If you are considering a handmade quilt, know that you are getting an investment. They do not happen overnight, and there is a lot of work and hours in every step of the process. A handmade quilt is a precious gift and an heirloom in the making.

Now back to the business of working on projects and sharing the happenings at This Lil Pig Studios!

Robbing Peter to Pay Paul

My Mother tagged me in a quilting hack video for the Robbing Peter to Pay Paul quilt and it piqued my interest. So I delved into the collection of quilting magazines that I have looking for some direction. Yes, a paper magazine with black and white pictures and graph paper patterns.

Let’s go back to the beginning, way back. The term Robbing Peter to Pay Paul dates back to 1296 in the Science of Cirurgie of Lanfranc of Milan in reference to the taxes that were required to be paid to Saint Paul’s Cathedral of London and Saint Peter’s Cathedral of Rome. With the Reformation, London parishioners neglected paying Peter’s tax to pay Paul’s. In subtle, gentle fashion women put this rebellion into their blatantly domestic voice – a quilt. I might be obsessed.

I set about re-creating this pattern with craft paper and testing. My first attempt was off by about half and inch and left lots to be desired. Not discouraged, I tried again and changed the order of my piecing. In this process, I learn. I learn more about my pattern drafting. I learn piecing order. I learn patience and understanding. I learn why young women of years ago were required to make 12 quilts before marriage. They were not only learning a skill of homemaking, they were learning so much more about themselves.

2018 In Review

2018 was a productive year with so much change, growth and new beginnings. The new year started off with new additions and baby quilts for gifts.

Duckling Windmills
Construction Four Patch

Then there were gradations just in time for Spring!

Flannel Mixed Patch
Shark Zen

I worked on some gifts that were not quilts. Mom wanted a clothes pin bag for the line and an Autumn Wall hanging.


The Back Yard Baby had her 1st Birthday!

Bow Ties and Pin Wheels

The year wrapped up with a couple more babies to be gifted.

Log Cabin
Heart Strings

2019 promises more babies! This new blog format! And orders for custom quilts in the queue.

Thank you as always for spending some time in the Pig Pen with This lil pig studios!